Quickstart

Overview

The purpose of this quickstart is to help you launch a compute instance that you can test and experiment with, in order to get a better understanding of how the compute service works.

To achieve this, we will provide a simple, single instance example using some of the most common methods that are being used by our customers. These are:

Dashboard example

Uploading an SSH key

The first thing we need to do is to make sure we have a way to access the instances we create. We use SSH to allow access to our instances. You can either import an existing public key or have the Catalyst Cloud create a key pair for you. We document both below:

Creating a new key pair

If you haven’t generated a SSH key pair before, Catalyst Cloud can create one for you.

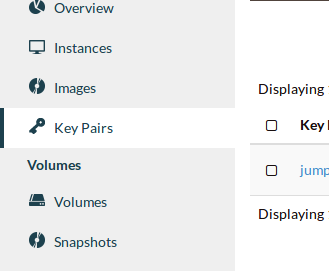
Navigate to the Key Pairs tab.
../_images/key-pair-tab.png

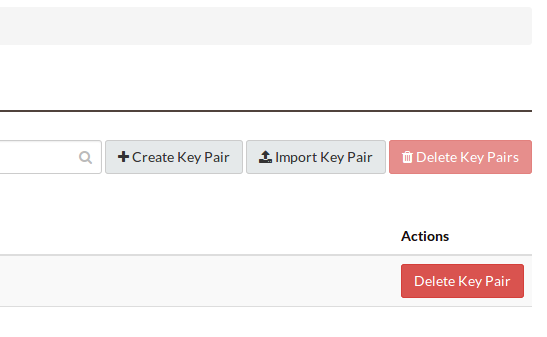
Select the Create Key Pair button.

../_images/key-pair-buttons.png

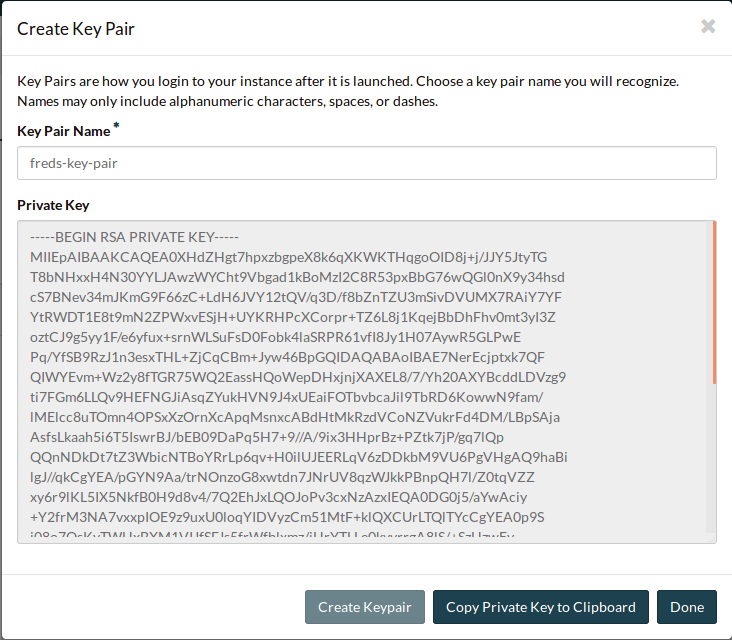
Name and create the key pair.

../_images/new-key-pair.png

Click Copy Private Key to Clipboard and paste it into a text file in a secure location. Make sure the file is saved as plain text.

Importing an existing key pair

If you already have an SSH key pair, you can import the public key onto the Catalyst Cloud.

Navigate to the Key Pairs tab.

../_images/key-pair-tab.png

Select the Import Key Pair button.

../_images/key-pair-buttons.png

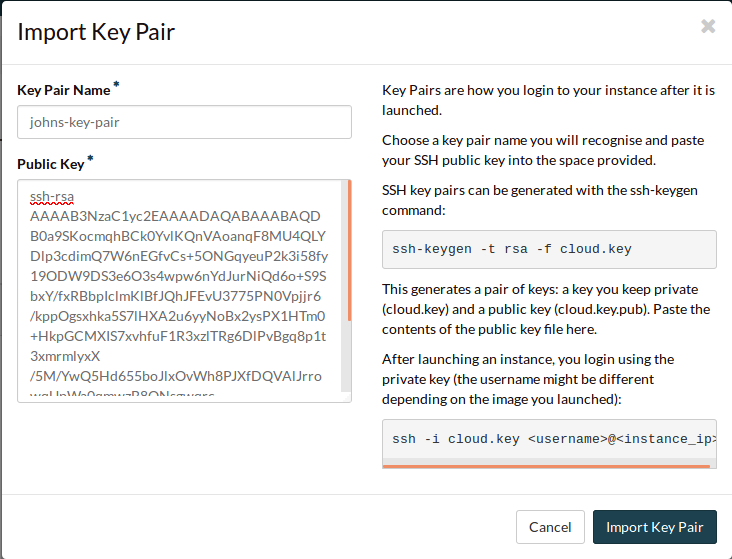
Name the key pair, and paste your public key into the box.
../_images/import-key-pair.png

Now that you’ve either imported or created an SSH key pair, we can continue.

Configure instance security group

By default, instances are inaccessible from all external IP addresses on all ports. So we’ll need to create an extra security group to let us SSH into the instance we’re about to create.

Navigate to the Security Groups tab.

../_images/security-group-tab.png

Now we’ll create a new security group, allowing SSH access. Select Create Security Group , give it a name, and create it.

../_images/create-security-group.png

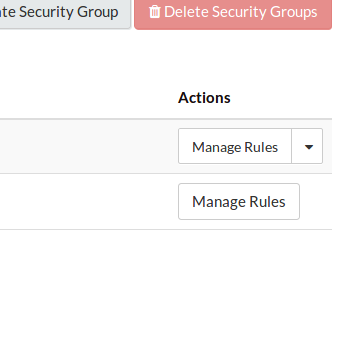
Now select manage rules for your new security group.

../_images/select-manage-rules.png

As you can tell, by default, security rules allow egress of all traffic and allow no ingress of traffic. By adding additional rules we can whitelist new types of traffic coming from new IP addresses. Note that you can assign more than one security group to an instance.

Select add rule.

../_images/sec-rule-list.png

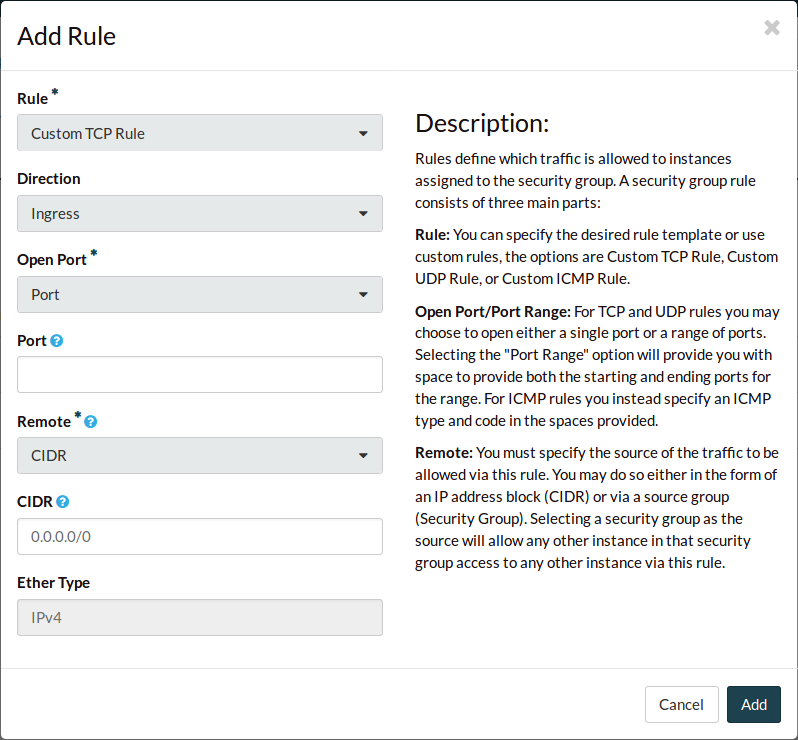
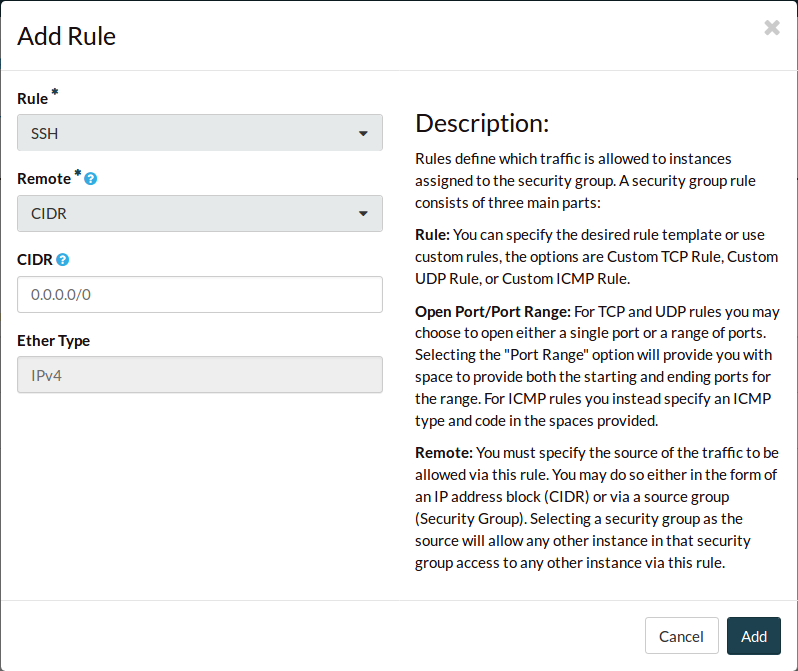
Here we can see the add rule screen. Many options are available to us.

../_images/add_rule_screen.png

Change the Rule dropdown to SSH. Here you can customize what CIDR range you allow access to your instance from. I’ve left it as 0.0.0.0/0, to allow SSH access from all IP addresses. This would be an insecure thing to do when working in a real production environment, but I’m leaving it like this for convenience.

When you’re happy, select Add to add the rule to the security group.

../_images/add-ssh-rule.png

We now have a security group that will allow SSH access to our soon to be created instance.

Booting an instance

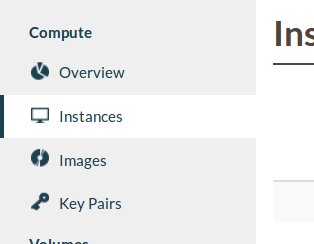
We are now ready to launch our first instance! Navigate to the Instances page.
../_images/instances-tab.png

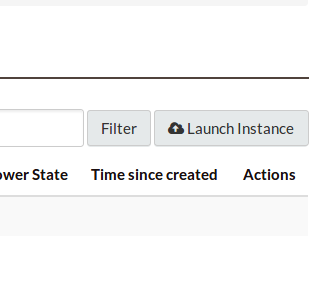
Select launch instance.

../_images/launch-instance-button.png

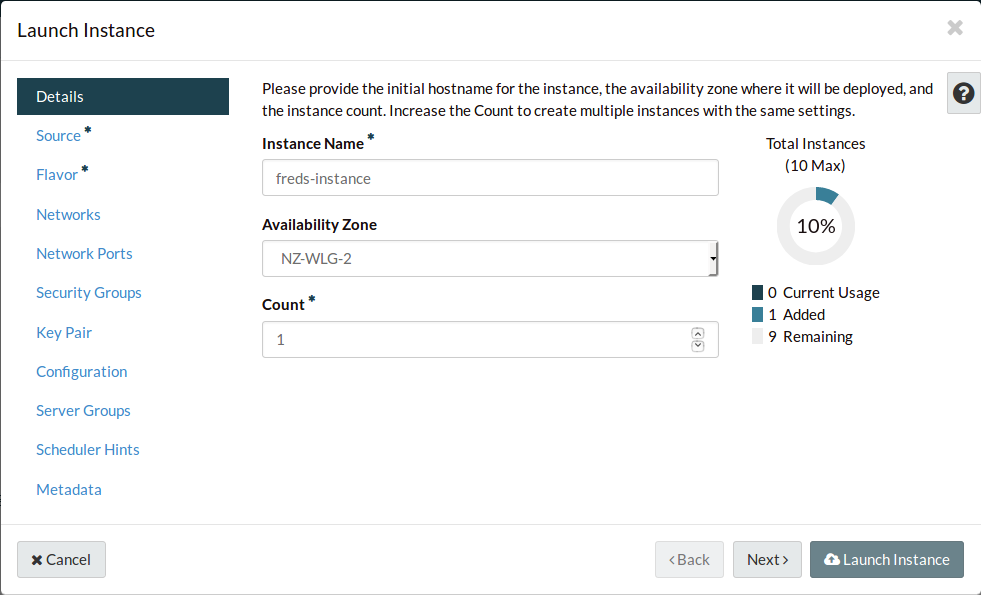
Name your instance.

../_images/name-instance.png

Navigate to the Source tab.

There are many types of sources you can use for your instance. In this case, we’ll use an Image to create a standard Ubuntu installation.
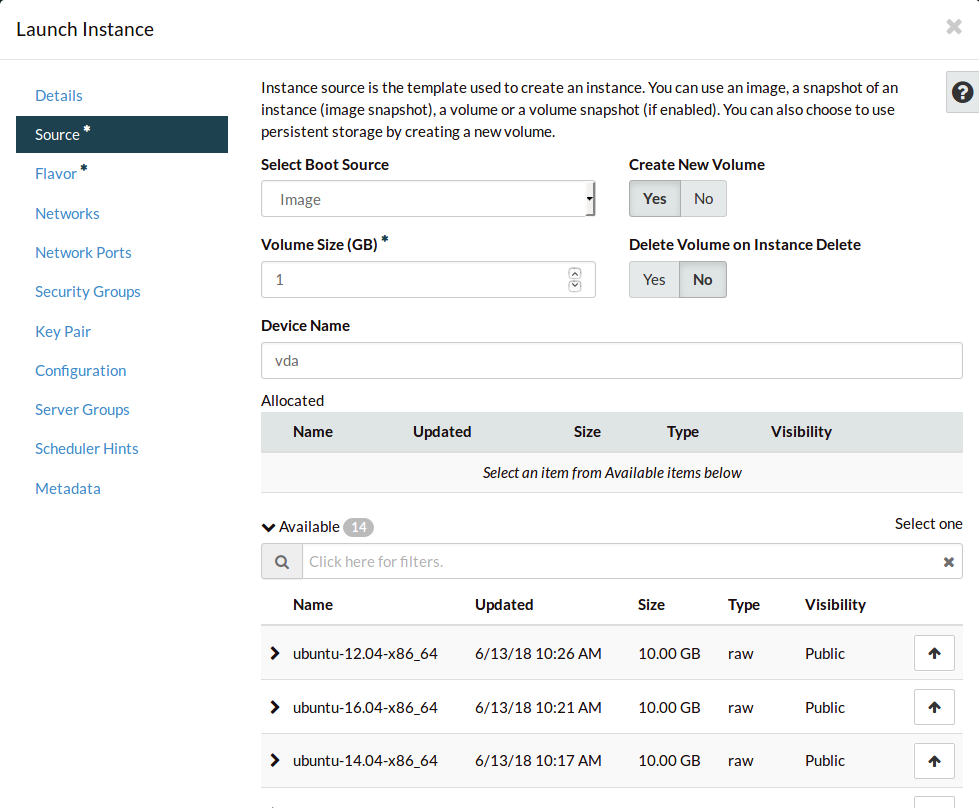
../_images/vanilla-image.png

Search for Ubuntu.

Select the image for Ubuntu 20.

By default the volume will just be large enough to hold the image’s files. We’ll increase it to 100GB so we have enough space for later.
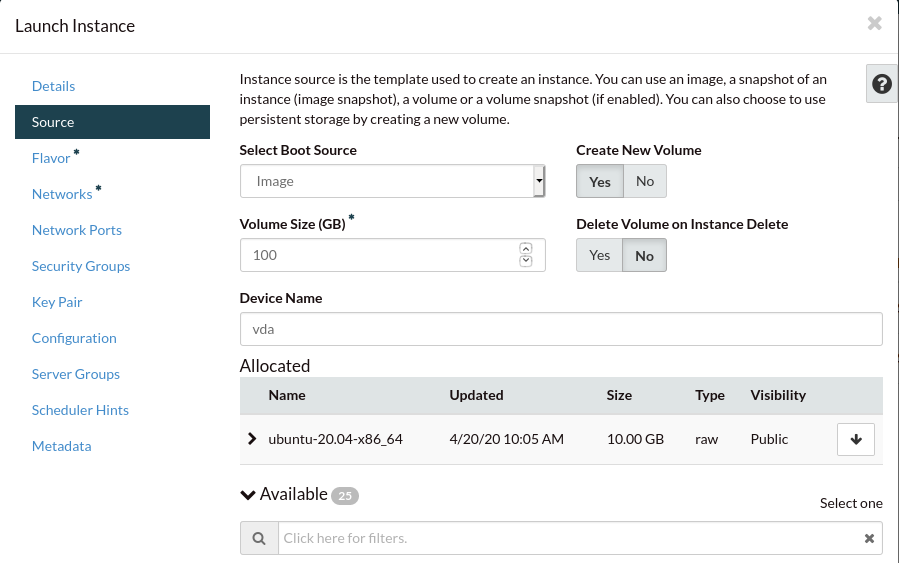
../_images/ubuntu-source.png

Navigate to the Flavor tab. This is where we select the compute resources we want to assign to our compute instance.

Order the flavors by VCPUS, and select an appropriate size.
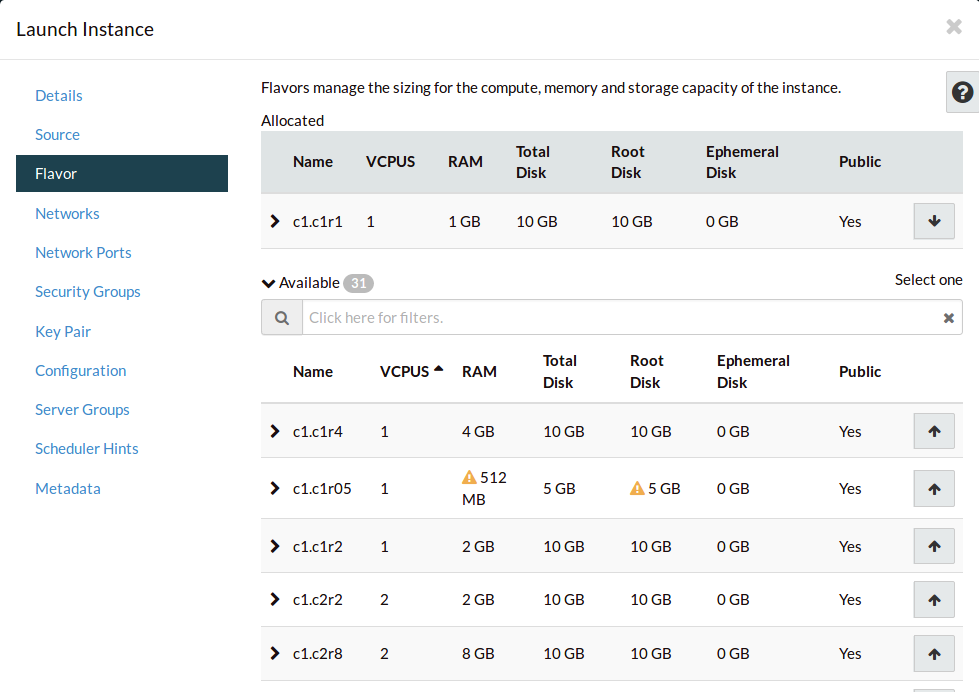
../_images/setting-flavor.png

Navigate to the Security Groups tab. Add your new security group.
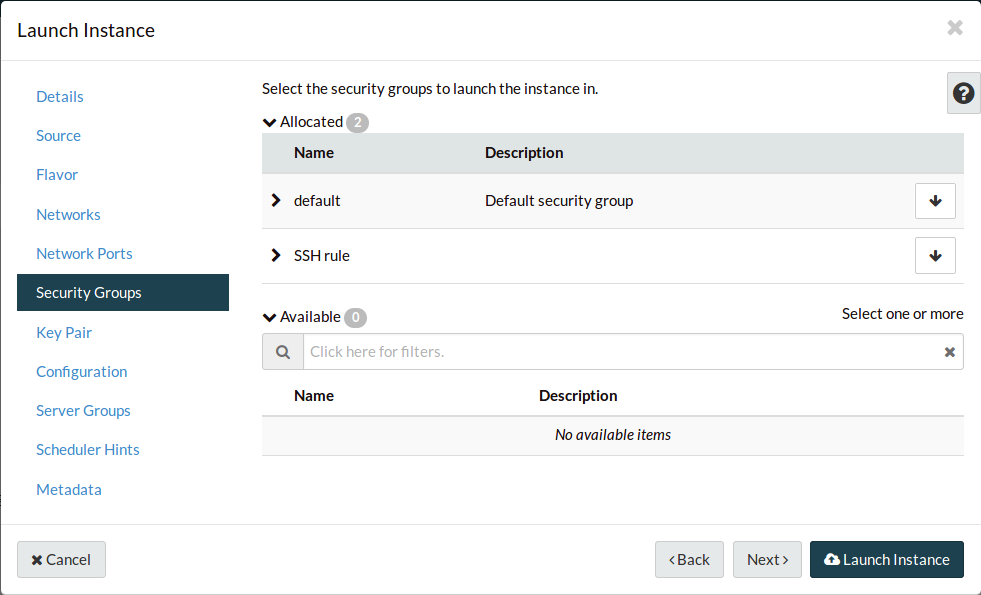
../_images/setting-sec-rules.png

Navigate to the Key Pair tab. Your key pair should already be assigned, but if it’s not, do it now. This will inject your public key into the new instance, so that your private key will be accepted for SSH connections.
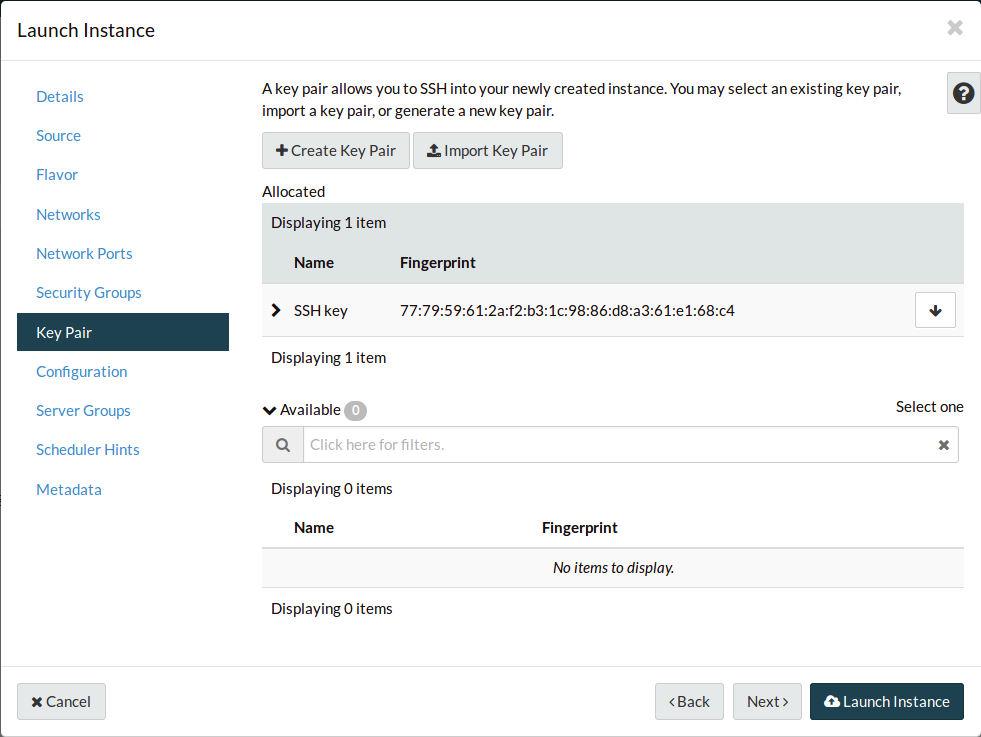
../_images/setting-key-pair.png

All the other tabs are for advanced features, and we can safely ignore them for now.

Select Launch Instance.

../_images/launching-instance.png

Finally, to make your instance accessible, we need to give it a publicly available, static IP address, because currently the instance only has an internal IP address from instance’s subnet. These are Floating IPs.

Use the instance’s dropdown to find the Associate Floating IP option and select it.
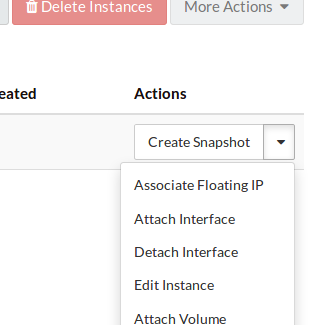
../_images/finding-floating-ip.png

Select the + to create a new floating IP address.
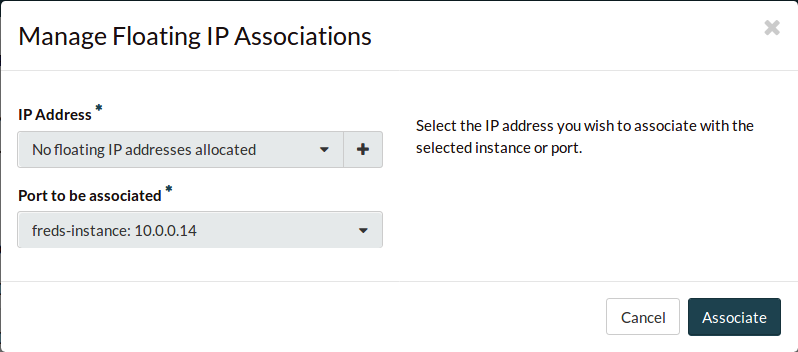
../_images/assigning-floating-ip.png

Select Allocate IP to provision yourself a floating IP address.
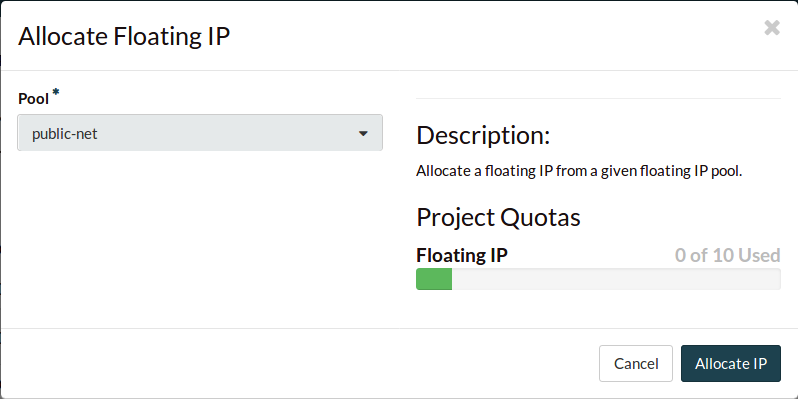
../_images/creating-floating-ip.png

The new floating IP should already be assigned.

Select Associate to associate it to your instance.
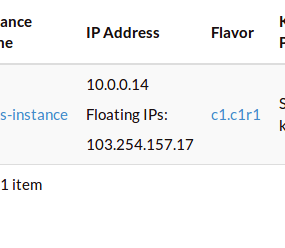
../_images/set-floating-ip.png

Congratulations, you’ve now booted an instance. Now we’ll connect to it with an SSH tunnel so you can start using it.

Connect to the new instance

Before we SSH in, we should give the private SSH key the correct, more secure permissions.

$ chmod 600 <path to private key>

You can now connect to the SSH service using the floating IP that you associated with your instance. This address is visible in the Instances list, or under the Floating IPs window.

$ ssh -i <path to private key> ubuntu@<your floating ip>

You should be able to SSH into, and interact with this instance as you would any Ubuntu server.

Programmatic examples

Configuration for code blocks

The configuration we will use for these examples is based on the settings that would be found in a brand new cloud project; which will have been provisioned with a single network.

We will launch a compute instance using an Ubuntu 20.04 image and connect it to the default network mentioned above. We will also create a security group to allow inbound SSH traffic

The configuration details are as follows:

  • region name : nz-hlz-1

  • external network name : public-net

  • internal network name : private-net

  • image name: ubuntu-20.04-x86_64

  • flavor name : c1.c1r1

Assumptions

These examples assume the following:

  • You have implemented an appropriate authentication method to allow you to interact with your Catalyst Cloud project. There are several options available to you depending on your tool of choice, some of these are:

  • You have uploaded or created an SSH key.

The following is a set of different templates that you can use to create your own compute instances. These instances will be the same as if you followed the instructions from the first instance section of the documents.

This documentation refers to values using place holders (such as <PRIVATE_SUBNET_ID>) You will need to change these to whichever UUID fits your project before you run any of these templates.

cli_basic_compute_create.sh
export CC_PRIVATE_NETWORK=private-net
export CC_FLAVOR=c1.c1r1
export CC_IMAGE=ubuntu-20.04-x86_64
export CC_KEYPAIR=<YOUR_KEY_NAME>
export CC_SEC_GROUP_NAME=first-instance-sg
export CC_SERVERNAME=first-instance
export CC_PUBLIC_NETWORK_ID=f10ad6de-a26d-4c29-8c64-xxxxxxxxxxxx

$ openstack security group create $CC_SEC_GROUP_NAME

$ openstack security group rule create \
--remote-ip 0.0.0.0/0 \
--ethertype ipv4 \
--protocol tcp \
--ingress \
--dst-port 22 \
$CC_SEC_GROUP_NAME

$ openstack server create --flavor $CC_FLAVOR \
--image $CC_IMAGE \
--key-name $CC_KEYPAIR \
--security-group default \
--security-group first-instance-sg \
--network $CC_PRIVATE_NETWORK  \
--boot-from-volume 10 \
$CC_SERVERNAME

$ openstack floating ip create $CC_PUBLIC_NETWORK_ID

$ export CC_FLOATING_IP_ID=$( openstack floating ip list -f value | grep -m 1 'None None' | awk '{ print $1 }' )
$ export CC_PUBLIC_IP=$( openstack floating ip show $CC_FLOATING_IP_ID -f value -c floating_ip_address )

$ openstack server add floating ip first-instance $CC_PUBLIC_IP
cli_basic_compute_destroy.sh
export VOLUMEID=$(openstack server show $CC_SERVERNAME -c volumes_attached -f value | awk -F"\'" '{ print $2}') && echo $VOLUMEID
openstack server delete $CC_SERVERNAME
openstack volume delete $VOLUMEID
openstack floating ip delete $CC_FLOATING_IP_ID
openstack security group delete $CC_SEC_GROUP_NAME