Headlamp is a web user-interface for Kubernetes that replaces Kubernetes Dashboard as an easy way
to deploy and monitor cluster workloads. It can be used as a desktop application (using a local
kubeconfig file), or hosted in-cluster which is the method that will be covered in this tutorial.
You can visit the Headlamp documentation for more information.
In the currently open terminal (with your OpenRC file sourced), run the following command
to fetch the authentication token from the environment, and copy it to the clipboard.
We will use this once Headlamp is open.
echo$OS_TOKEN
In the currently open terminal (with your OpenRC file sourced), run the following command
to fetch the authentication token from the environment, and copy it to the clipboard.
We will use this once Headlamp is open.
echo $Env:OS_TOKEN
In the currently open terminal (with your OpenRC file sourced), run the following command
to fetch the authentication token from the environment, and copy it to the clipboard.
We will use this once Headlamp is open.
echo%OS_TOKEN%
Then deploy Headlamp using kubectl following the instructions in Headlamp’s documentation page.
View the web interface from http://localhost:8001. It may take some time for the service to become
available. Check by refreshing the page periodically.
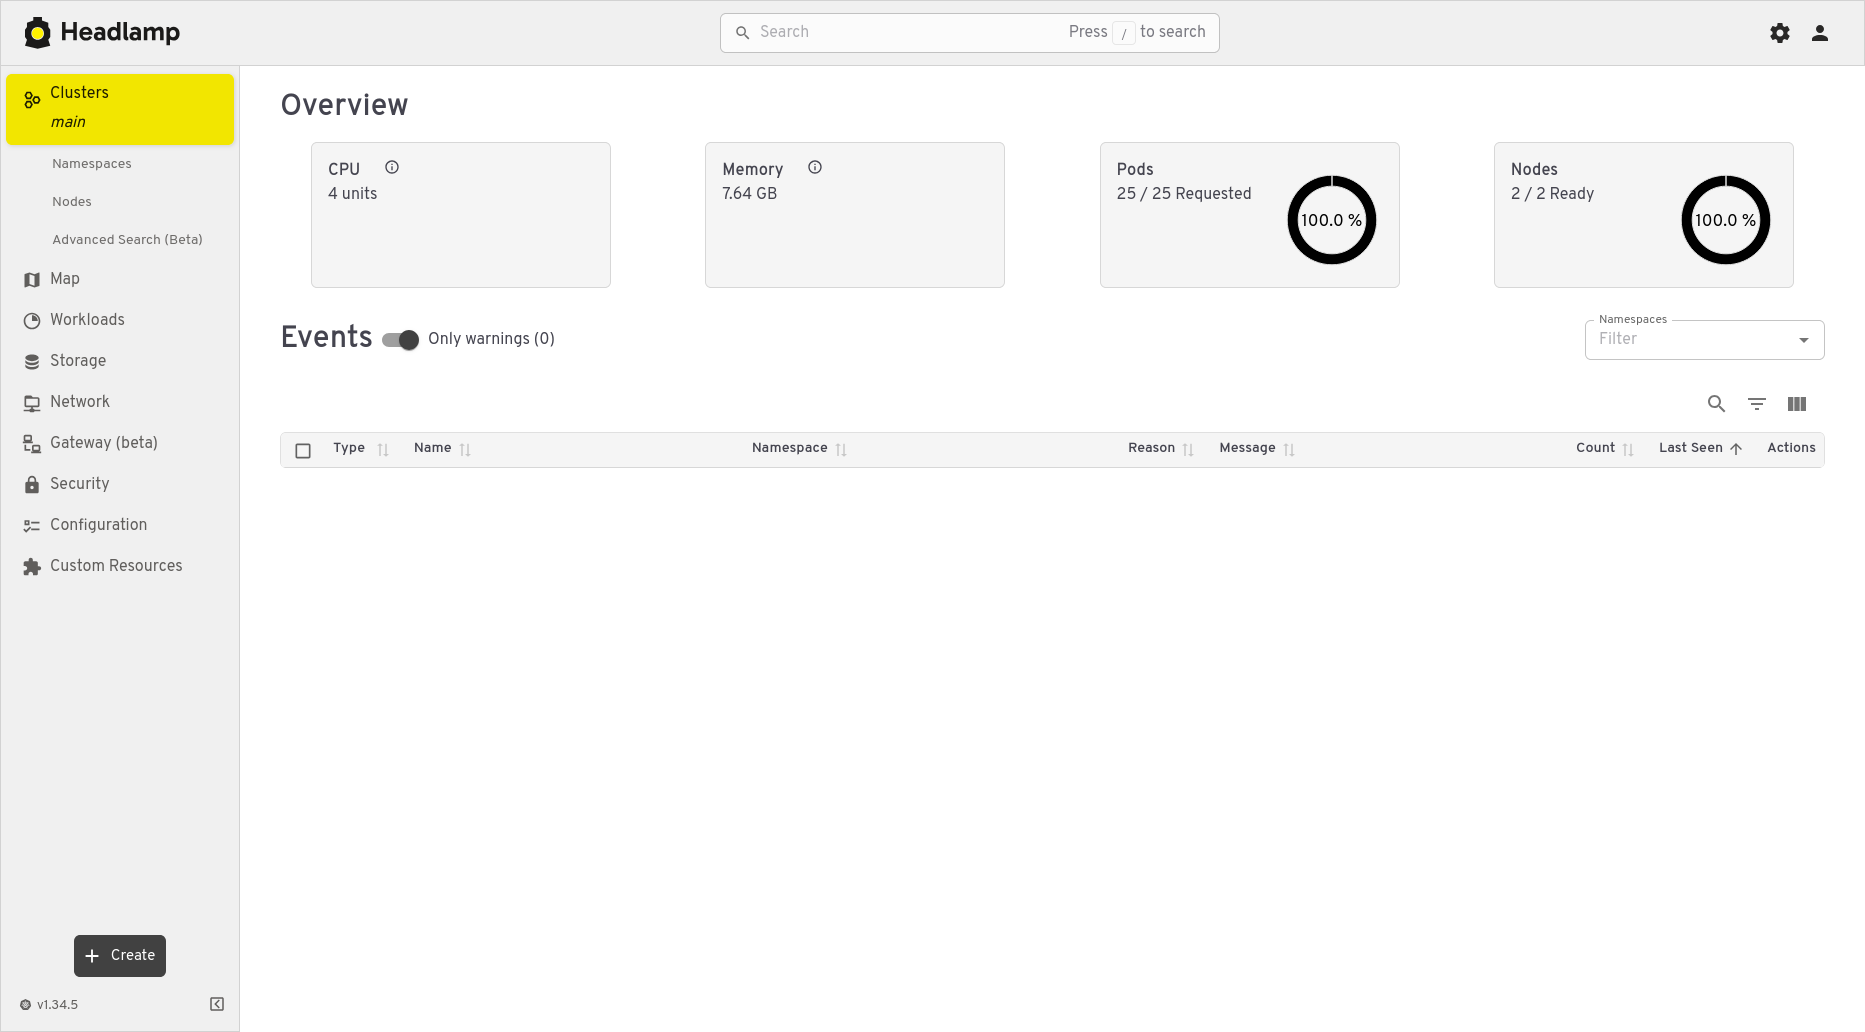
Once Headlamp is running, you should be presented by a prompt. Paste in the authentication token
acquired in the previous steps.
Click Authenticate to login, and you should now have Headlamp open in your browser.
Let’s try creating a deployment for a different application on Kubernetes using Headlamp instead
of kubectl.
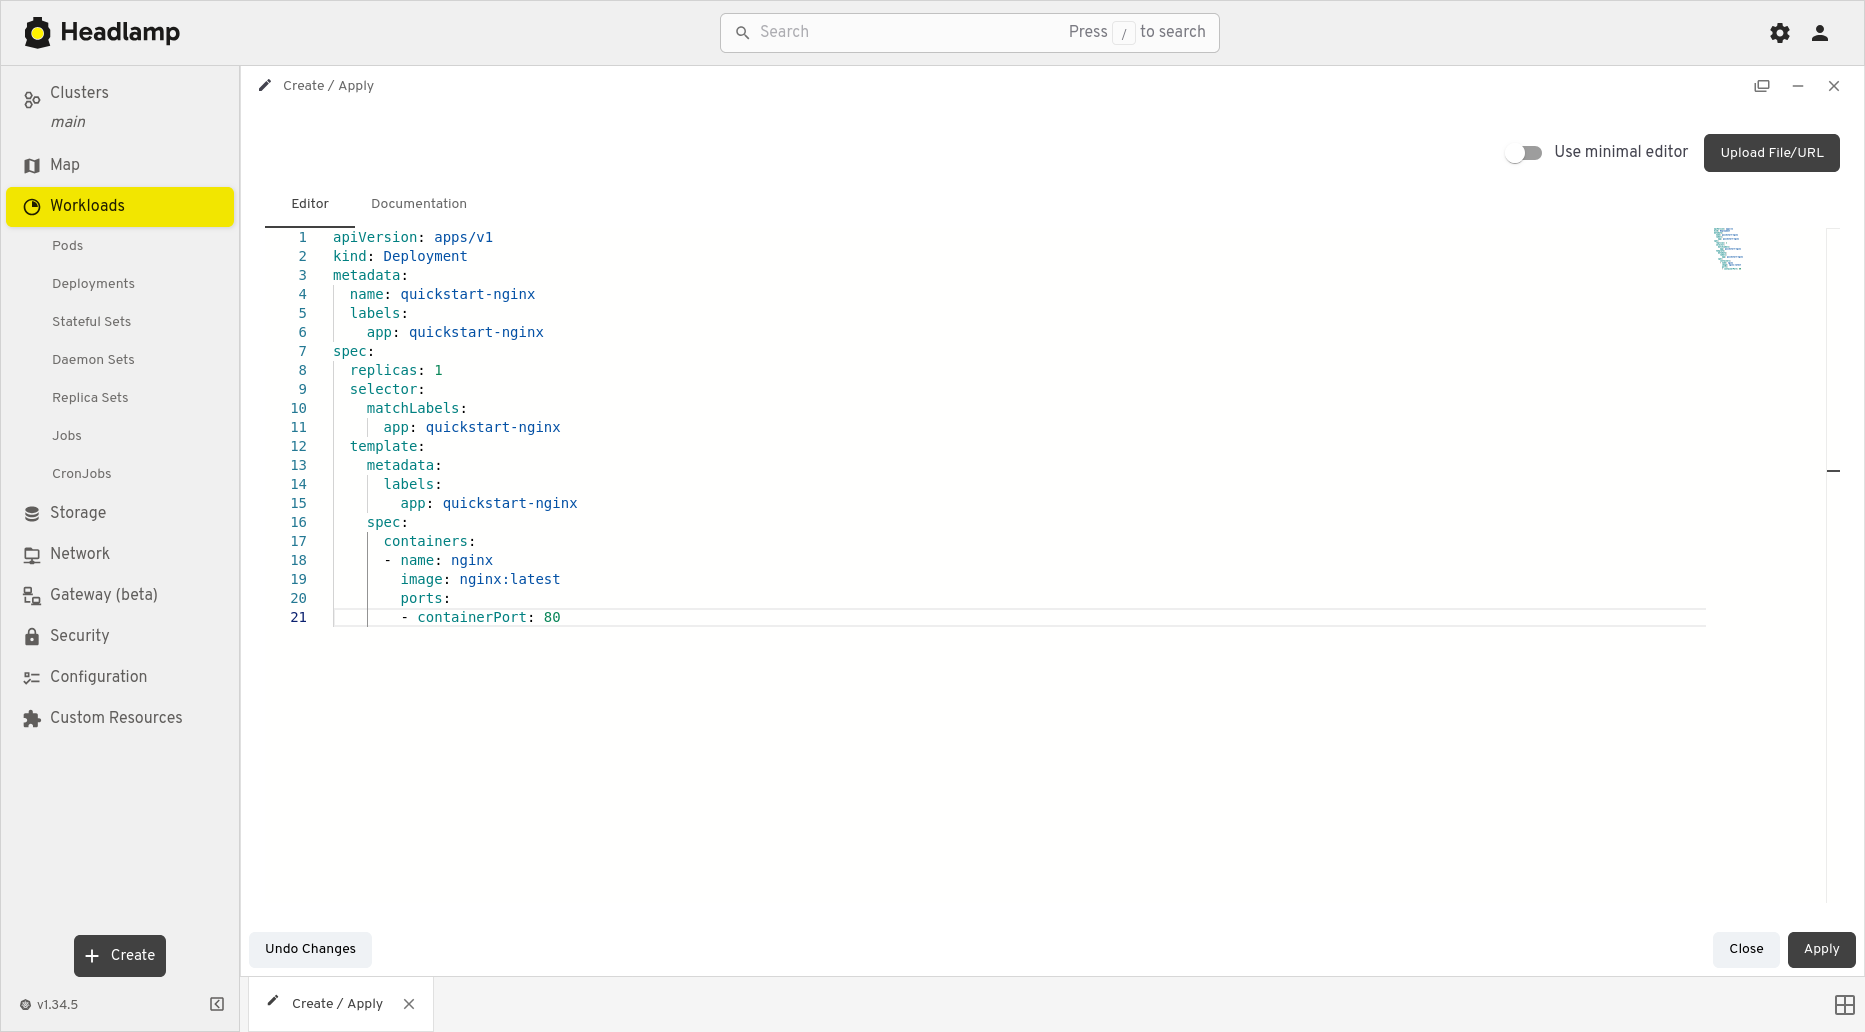
First, click the + Create button in the bottom-left corner of the Headlamp dashboard to open the
editor. Paste the following YAML into the editor.
This YAML creates a new deployment called quickstart-nginx, which consists of a single
nginx web server, serving the default test page via HTTP (port 80).
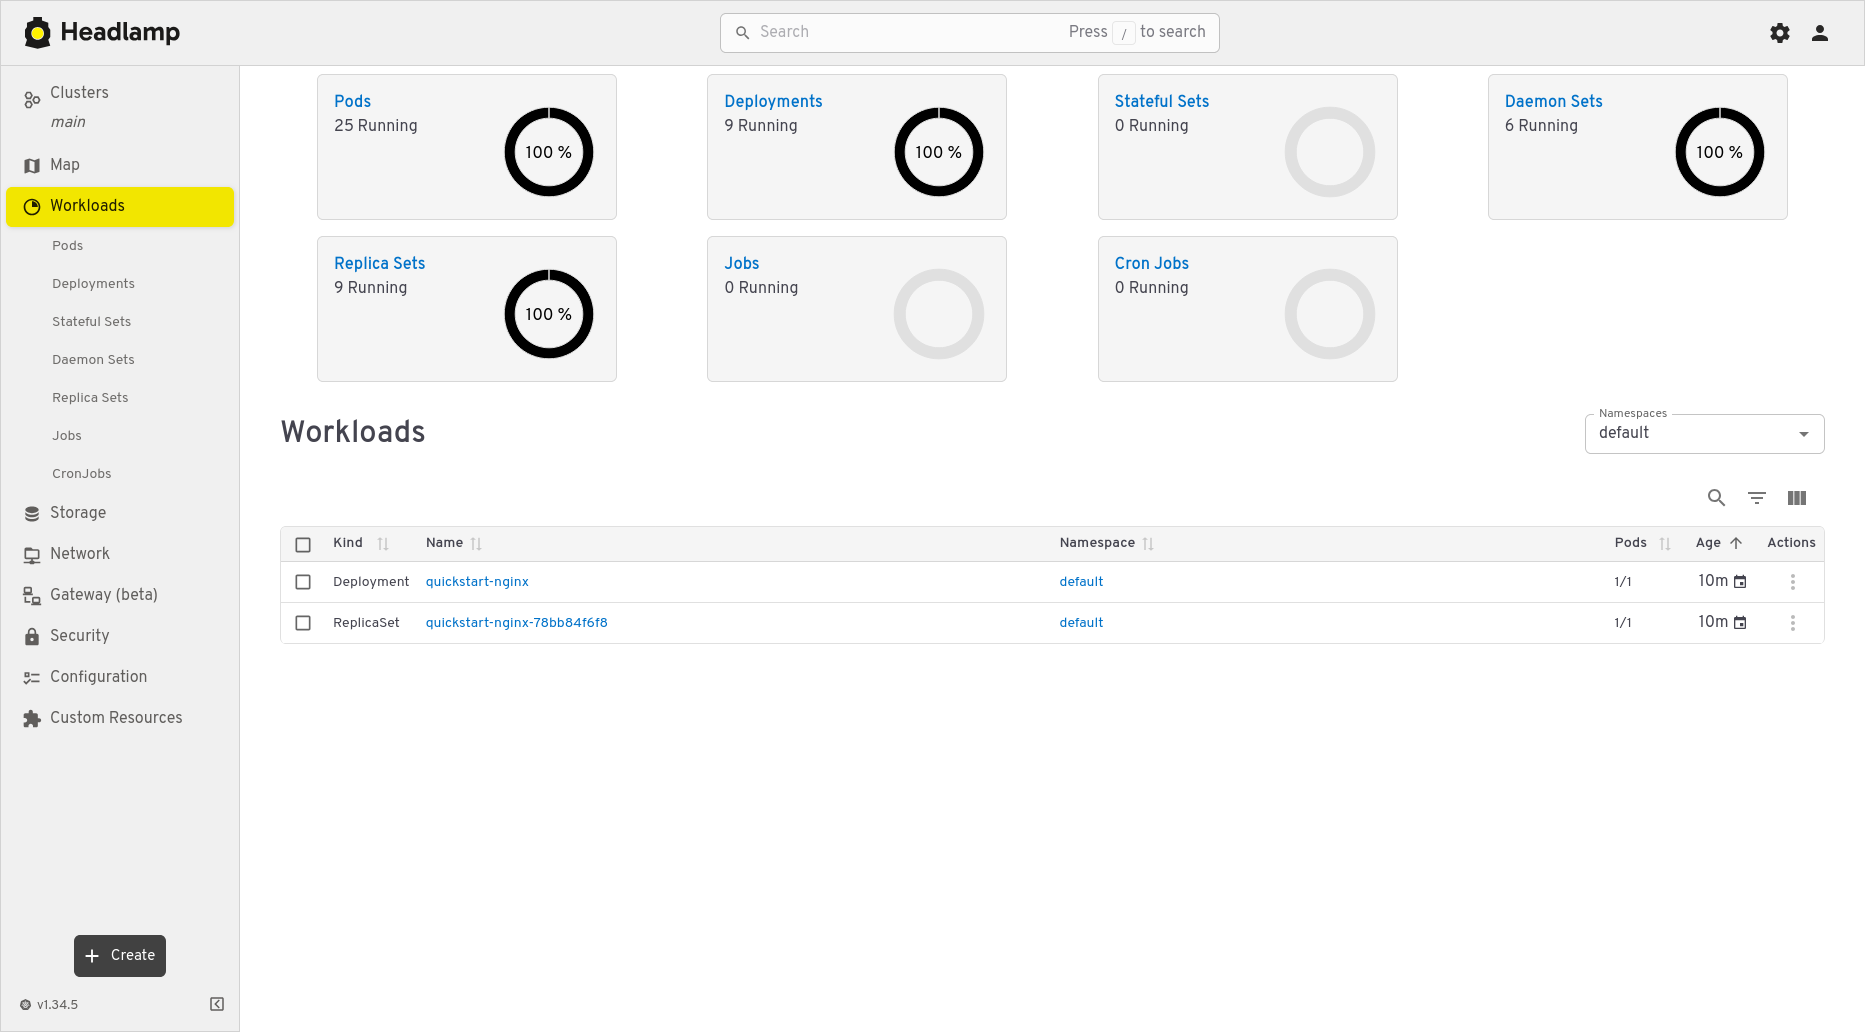
You will now be directed back to the Headlamp dashboard. Access Workloads from the menu on the
left-hand side of the page where the new deployment will be tracked in real-time. You can restrict
visible namespaces to just ‘default’ to isolate the quickstart-nginx resources.
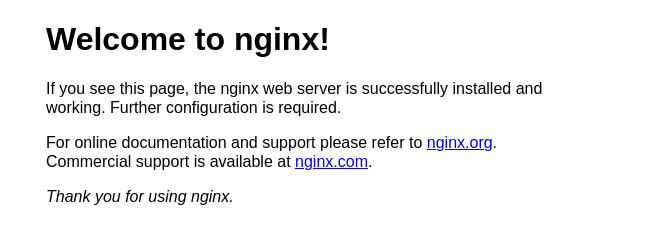
Let’s check that our new application is working properly. This application is not accessible from
the internet, so we will need to create a port-forward from the local machine to the application
in the cluster as we have before with Headlamp.
Since the terminal window we have been using is currently running the kubectlport-forward
command for Headlamp, open a new terminal window. Make sure to source your OpenRC file, and set the
KUBECONFIG environment variable (as shown in Configuring kubectl).
Then run the following command to create the port-forward to the application: