Given the nature of today’s multi-cloud, distributed working it can be a
challenge for the people involved in running, deploying and maintaining
cloud-based systems. Part of this challenge is the need to aggregate
various metrics, across a wide range of sources and presenting these in a
‘single pane of glass’.
One of the key data sources that typically need to be managed in this way is log
data. Whether this is system or application generated it is always desirable to
be able to forward all of these log output to specialised systems such as
Elasticsearch, Kibana or Grafana which can handle the display, searchability
and analysis of the received log data.
It is the role of the log collectors such as Fluentd or Logstash to forward
these logs from their origins on to the chosen analysis tools.
It attempts to structure all data as JSON in order to unify the collecting,
filtering, buffering and outputting of log data from multiple sources and
destinations.
The flexible nature of the Fluentd plugin system allows users to make better
use of their log data in a much easier way through the use of the 500+
community created plugins that provide a wide range of supported data source
and data output options.
This tutorial shows how you can use Fluentd to set up logging
for Kubernetes clusters backed by the Catalyst Cloud Object Storage service.
We will be adding a Fluentd DaemonSet to our cluster so that we can export
the logs to a Catalyst Cloud Object Storage container via the S3 API,
using the Fluentd S3 plugin.
This allows you to make log data available to any downstream analysis tool
that is able to use the supported Object Storage APIs.
First, we will create the Object Storage container that Fluentd will publish log files to.
For more information on how to create an Object Storage container in Catalyst Cloud,
please refer to Using Containers.
Run the following command to create the fluentd container.
openstackcontainercreatefluentd
By default, the container is created with the
multi-region replication policy.
To use one of the single-region replication policies,
use the --storage-policy option to set a custom
storage policy when creating the container.
For example, for single-region replication to the nz-hlz-1 region:
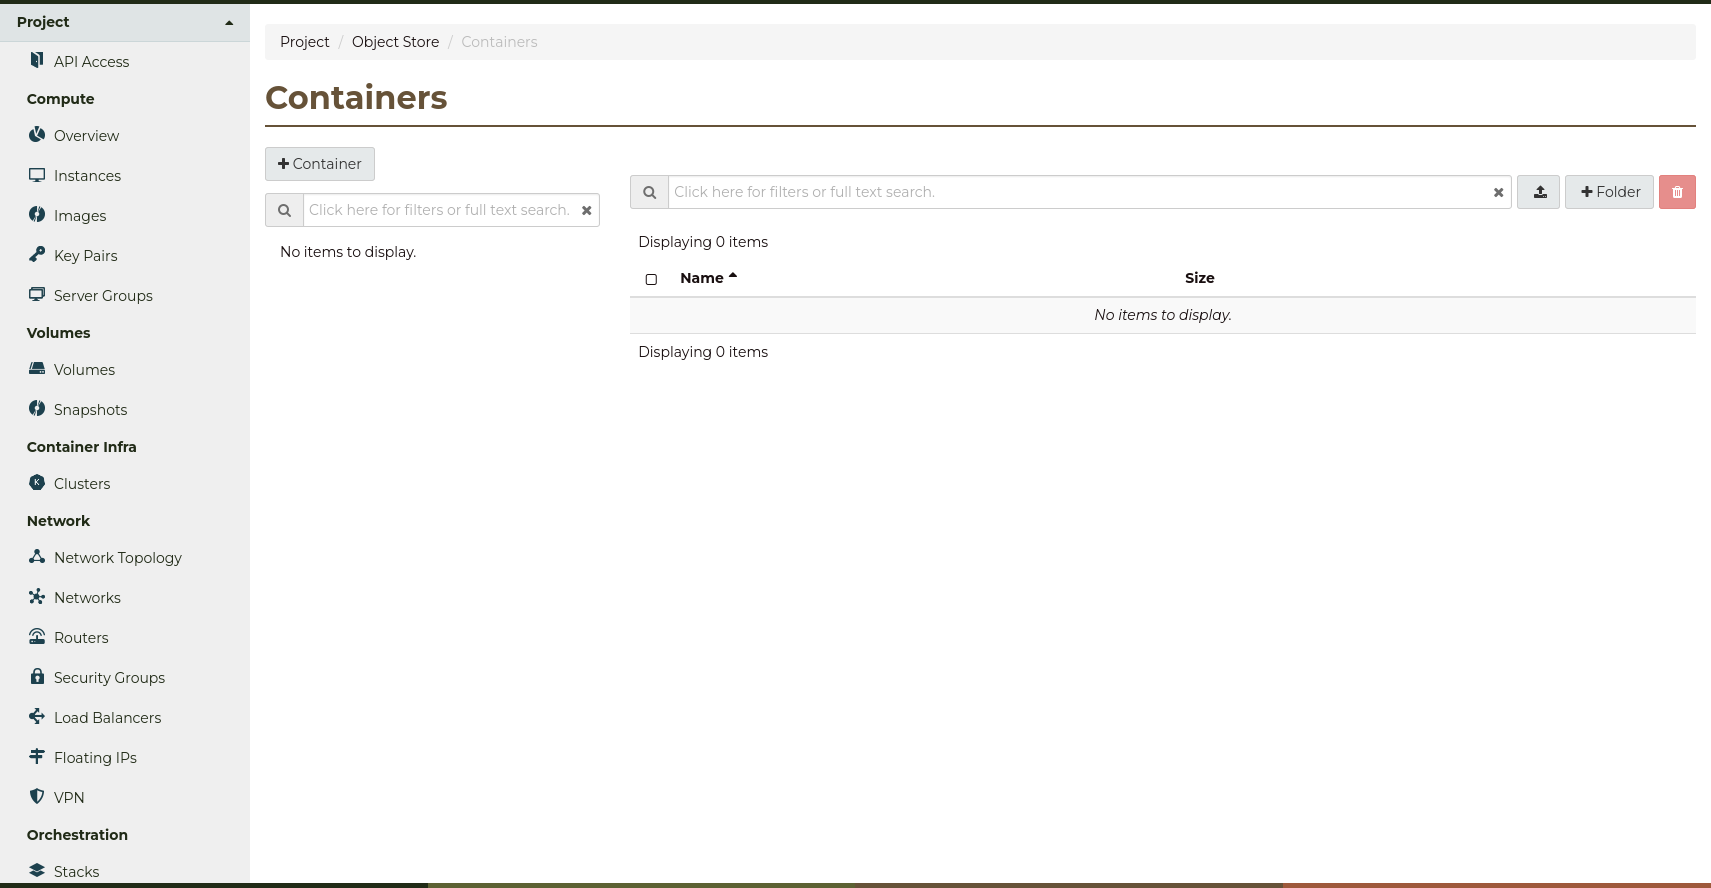
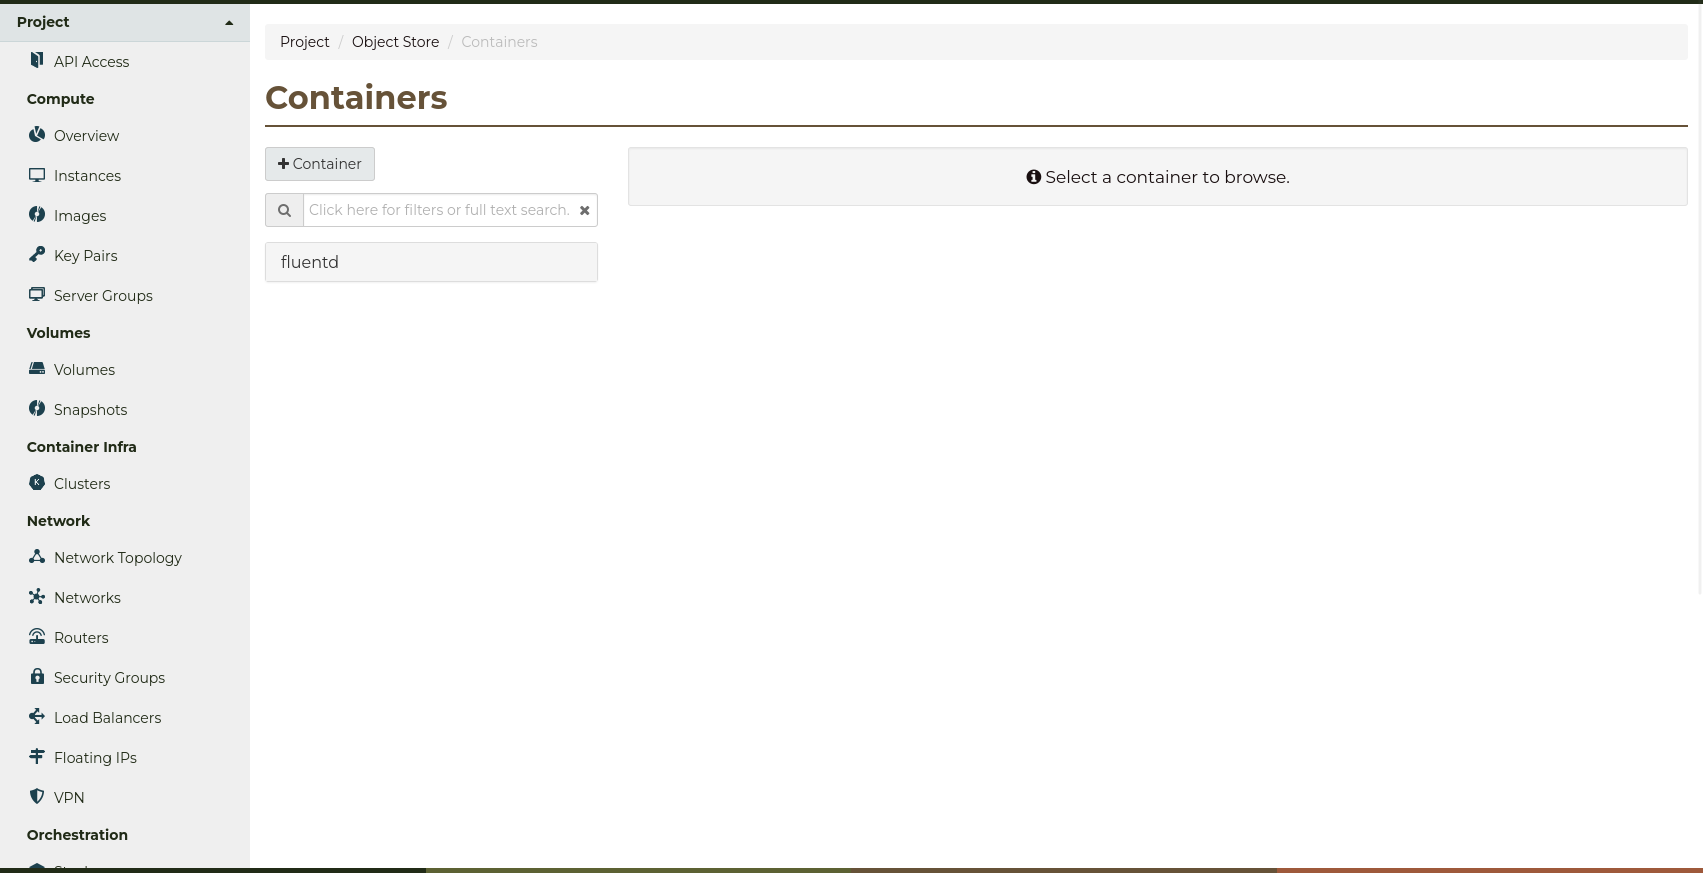
First, navigate to the Project -> Object Store -> Containers page,
where you can view all of your currently existing containers.
Press the + Container button to create a new container for Fluentd.
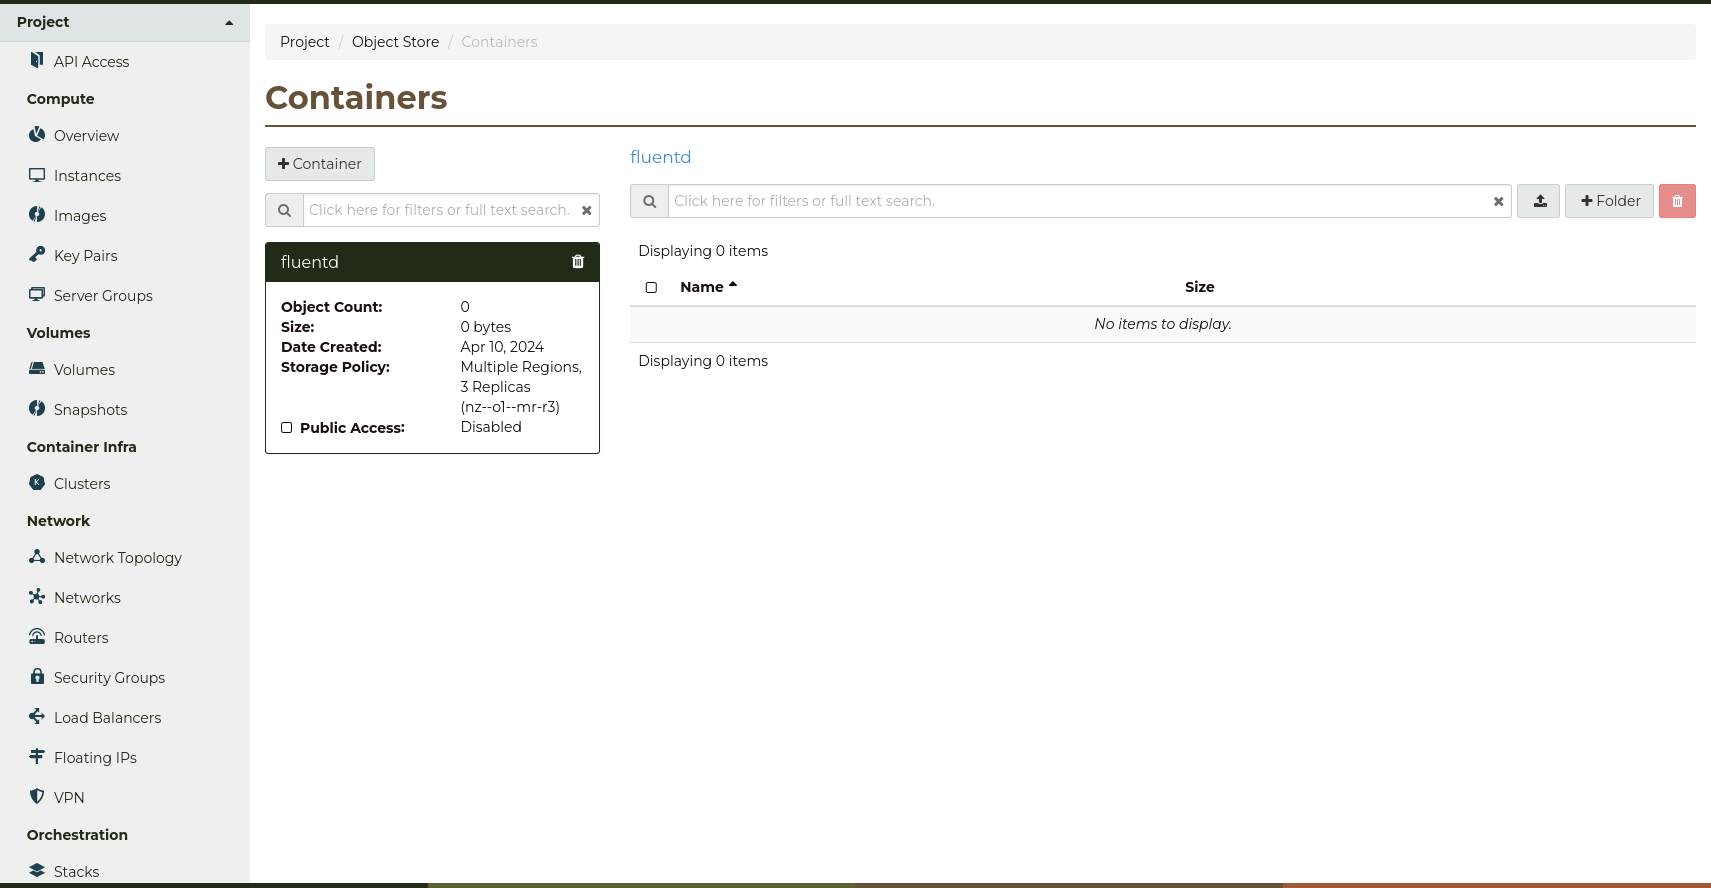
Set Container Name to fluentd,
and the Storage Policy to the correct policy
for your use case (for more information,
refer to Storage Policies).
Make sure Container access is set to Not public.
Once you are done, click Submit to create the container.
You will now be taken back to the Containers page,
where you can interact with the new container.
# Create the target Object Storage container for Fluentd.resource"openstack_objectstorage_container_v1""fluentd"{name="fluentd"storage_policy="nz--o1--mr-r3"}
The above resource definition will create the container using the
multi-region replication policy.
To use one of the single-region replication policies,
change the region and storage_policy attributes
to the region you want to create the container in.
For example, for single-region replication to the nz-hlz-1 region:
# Create the target Object Storage container for Fluentd.resource"openstack_objectstorage_container_v1""fluentd"{name="fluentd"region="nz-hlz-1"storage_policy="nz-hlz-1--o1--sr-r3"}
Now in Kubernetes, we will create the namespace that Fluentd will run in,
along with dedicated service accounts that grant Fluentd the required privileges.
Create a YAML file named fluentd-rbac.yml with the content
as shown below.
A logging namespace is created for Fluentd to run in,
along with a fluentd service account.
A matching new cluster role is also created with the required permissions,
along with a binding for the cluster role to the service account.
---# Create logging namespace.apiVersion:v1kind:Namespacemetadata:name:logging---# Create the fluentd ServiceAccount.apiVersion:v1kind:ServiceAccountmetadata:name:fluentdnamespace:logging---# Create a fluentd ClusterRole to access pods and namespaces.apiVersion:rbac.authorization.k8s.io/v1kind:ClusterRolemetadata:name:fluentdrules:-apiGroups:-""resources:-pods-namespacesverbs:-get-list-watch---# Bind the ServiceAccount to the ClusterRole.apiVersion:rbac.authorization.k8s.io/v1kind:ClusterRoleBindingmetadata:name:fluentdroleRef:kind:ClusterRolename:fluentdapiGroup:rbac.authorization.k8s.iosubjects:-kind:ServiceAccountname:fluentdnamespace:logging
Run kubectlapply-ffluentd-rbac.yml to create the resources in the Kubernetes cluster.
$ kubectlapply-ffluentd-rbac.yml
namespace/logging createdserviceaccount/fluentd createdclusterrole.rbac.authorization.k8s.io/fluentd createdclusterrolebinding.rbac.authorization.k8s.io/fluentd created
Below is an example of how to define the required Kubernetes resources using Terraform.
A logging namespace is created for Fluentd to run in,
along with a fluentd service account.
A matching new cluster role is also created with the required permissions,
along with a binding for the cluster role to the service account.
# Create logging namespace.resource"kubernetes_namespace_v1""logging"{metadata{name="logging"}}# Create the fluentd ServiceAccount.resource"kubernetes_service_account_v1""fluentd"{metadata{name="fluentd"namespace=kubernetes_namespace_v1.logging.metadata[0].name}}# Create a fluentd ClusterRole to access pods and namespaces.resource"kubernetes_cluster_role_v1""fluentd"{metadata{name="fluentd"}rule{api_groups=[""]resources=["namespaces", "pods"]verbs=["get", "list", "watch"]}}# Bind the ServiceAccount to the ClusterRole.resource"kubernetes_cluster_role_binding_v1""fluentd"{metadata{name="fluentd"}role_ref{api_group="rbac.authorization.k8s.io"kind="ClusterRole"name=kubernetes_cluster_role_v1.fluentd.metadata[0].name}subject{kind="ServiceAccount"name=kubernetes_service_account_v1.fluentd.metadata[0].namenamespace=kubernetes_namespace_v1.logging.metadata[0].name}}
It is recommended to use the CLI for this step, as from the dashboard
you can only create and manage a single set of EC2 credentials
at a time.
If you have already created a set of EC2 credentials, an option called
Recreate EC2 Credentials will be shown, which while creating
a new set of credentials, will also delete the existing credentials,
so be careful.
From the CLI, you can create and have multiple sets of EC2 credentials
active at a time.
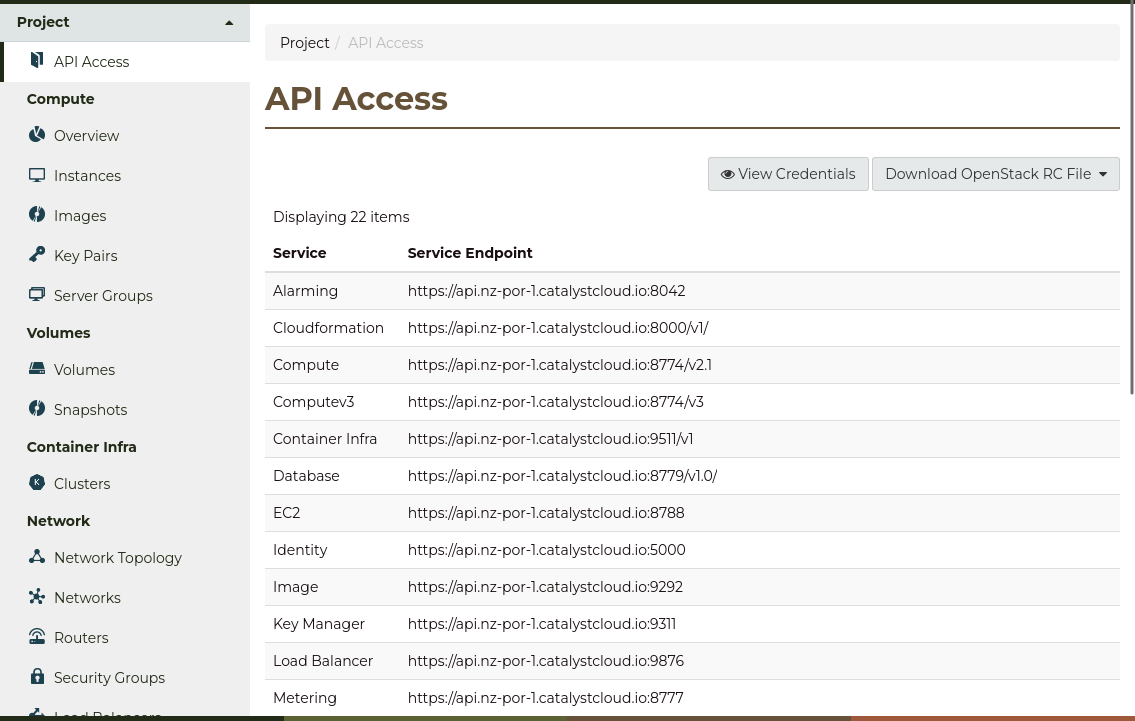
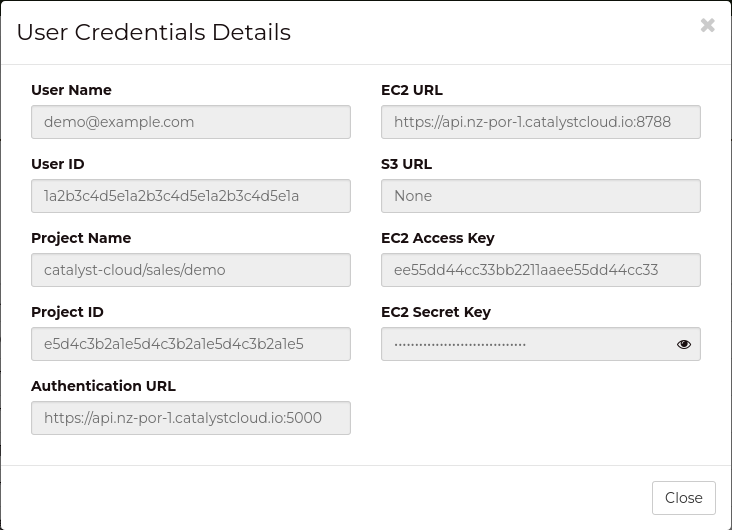
Navigate to the Project -> API Access page, and press View Credentials
to open the User Credentials window.
EC2 Access Key and EC2 Secret Key are the required values.
Copy these values, as they will be used in the next step.
If you are not using Terraform to manage Kubernetes resources,
after creating the resource using terraformapply,
run the following command to fetch the Access Key ID
and Secret Access Key.
Copy these values, as they will be used in the next step.
We now need to create a Secret containing the Access Key ID and Secret Access Key.
This Secret will be referenced by the DaemonSet to provide the values
to the Fluentd configuration as environment variables.
Create a YAML file named fluentd-secrets.yml, pasting in
the correct values for aws_access_key_id and aws_secret_access_key.
---# Create secrets for Fluentd.apiVersion:v1kind:Secretmetadata:name:fluentdnamespace:loggingstringData:aws_access_key_id:'ee55dd44cc33bb2211aaee55dd44cc33'aws_secret_access_key:'11aa22bb33cc44dd55ee11aa22bb33cc'
Run kubectlapply-ffluentd-secrets.yml to create the secrets.
$ kubectlapply-ffluentd-secrets.yml
secret/fluentd created
This definition references the credential resource created in the previous step,
so you do not need to explicitly define the Access Key ID or Secret Access Key anywhere.
# Create secrets for Fluentd.resource"kubernetes_secret_v1""fluentd"{metadata{name="fluentd"namespace=kubernetes_namespace_v1.logging.metadata[0].name}data={aws_access_key_id=openstack_identity_ec2_credential_v3.fluentd.accessaws_secret_access_key=openstack_identity_ec2_credential_v3.fluentd.secret}}
Finally, we will create the DaemonSet to run the Fluentd service.
This will create one pod per worker node.
The Fluentd container definition mounts the previously created config map
as the Fluentd configuration file, which then loads credentials,
container/bucket parameters and other options from the environment variables
passed to the container from the daemon set.
If you are using your own Kubernetes clusters, the container
environment variables may need some slight changes.
Check the daemon set definition below for more information.
Create a YAML file named fluentd-daemonset.yml.
Make sure to change the values for the following environment variables
(highlighted below) to the correct values:
S3_BUCKET_NAME - Name of the Object Storage container to save logs to.
OS_REGION_NAME - Catalyst Cloud region to use to connect to the Object Storage S3 API.
For example, if the container is located in the nz-hlz-1 region,
set this to nz-hlz-1.
If the container uses the multi-region replication policy
AND the Kubernetes cluster is also hosted on Catalyst Cloud,
set this to the same region in which the Kubernetes cluster is located.
For example, if the Kubernetes cluster is hosted in the nz-hlz-1
region, set this to nz-hlz-1.
If none of the above apply, set this to nz-por-1.
---# Create the Fluentd daemon set.apiVersion:apps/v1kind:DaemonSetmetadata:name:fluentdnamespace:logginglabels:k8s-app:fluentdaddonmanager.kubernetes.io/mode:Reconcilespec:selector:matchLabels:name:fluentdtemplate:metadata:labels:name:fluentdspec:serviceAccountName:fluentdtolerations:-key:node-role.kubernetes.io/control-planeeffect:NoSchedulecontainers:-name:fluentd# Check the Docker Hub page for updated versions of the image:# https://hub.docker.com/r/fluent/fluentd-kubernetes-daemonsetimage:fluent/fluentd-kubernetes-daemonset:v1.16-debian-s3-1env:-name:S3_BUCKET_NAMEvalue:"fluentd"-name:OS_REGION_NAMEvalue:"nz-por-1"# Required on Catalyst Cloud Kubernetes Service.# For other Kubernetes clusters, this may need to be set to `json`# if containerd is configured to use the `json-file` log driver.-name:FLUENT_CONTAINER_TAIL_PARSER_TYPEvalue:'/^(?<time>.+)(?<stream>stdout|stderr)[^]*(?<log>.*)$/'# Optional values:# * S3_PATH - Add prefix to the log files in the target container/bucket.# * S3_OBJECT_KEY_FORMAT - Format string for the log file path.# * S3_TIMEKEY - Interval for log files, in seconds. Default is 3600 seconds (1 hour).# * S3_CHUNK_LIMIT_SIZE - Maximum size limit for chunks. Default is '256m' (256MB).-name:S3_ENDPOINT_URLvalue:"https://object-storage.$(OS_REGION_NAME).catalystcloud.io"-name:S3_BUCKET_REGIONvalue:"us-east-1"-name:S3_FORCE_PATH_STYLEvalue:"true"-name:AWS_ACCESS_KEY_IDvalueFrom:secretKeyRef:name:fluentdkey:aws_access_key_id-name:AWS_SECRET_ACCESS_KEYvalueFrom:secretKeyRef:name:fluentdkey:aws_secret_access_key-name:FLUENT_UIDvalue:"0"resources:limits:memory:200Mirequests:cpu:100mmemory:200MivolumeMounts:-name:var-logmountPath:/var/log-name:var-lib-docker-containersmountPath:/var/lib/docker/containersreadOnly:true-name:fluent-confmountPath:/fluentd/etc/fluent.confsubPath:fluent.confreadOnly:trueterminationGracePeriodSeconds:30volumes:-name:var-loghostPath:path:/var/log-name:var-lib-docker-containershostPath:path:/var/lib/docker/containers-name:fluent-confconfigMap:name:fluentd
Run kubectlapply-ffluentd-daemonset.yml to create the daemon set.
$ kubectlapply-ffluentd-daemonset.yml
daemonset.apps/fluentd created
As all of the Terraform resources created up until this point are referenced
by this resource definition, you do not need to set any values.
Just use the definition as is.
Some of the parameters may be changed, and additional optional environment variables
may be configured, if you like. For more information, check the comments
in the resource definition below.
# Create the Fluentd daemon set.resource"kubernetes_daemon_set_v1""fluentd"{metadata{name="fluentd"namespace=kubernetes_namespace_v1.logging.metadata[0].namelabels={"k8s-app"="fluentd""addonmanager.kubernetes.io/mode"="Reconcile"}}spec{selector{match_labels={name="fluentd"}}template{metadata{labels={name="fluentd"}}spec{service_account_name=kubernetes_service_account_v1.fluentd.metadata[0].nametoleration{key="node-role.kubernetes.io/control-plane"effect="NoSchedule"}container{name="fluentd" # To avoid breaking changes, pin the image to a specific version: # https://hub.docker.com/r/fluent/fluentd-kubernetes-daemonsetimage="fluent/fluentd-kubernetes-daemonset:v1-debian-s3" # Required on Catalyst Cloud Kubernetes Service. # For other Kubernetes clusters, this may need to be set to `json` # if containerd is configured to use the `json-file` log driver.env{name="FLUENT_CONTAINER_TAIL_PARSER_TYPE"value="/^(?<time>.+) (?<stream>stdout|stderr) [^ ]* (?<log>.*)$/"} # Optional values: # * S3_PATH - Add prefix to the log files in the target container/bucket. # * S3_OBJECT_KEY_FORMAT - Format string for the log file path. # * S3_TIMEKEY - Interval for log files, in seconds. Default is 3600 seconds (1 hour). # * S3_CHUNK_LIMIT_SIZE - Maximum size limit for chunks. Default is '256m' (256MB).env{name="S3_BUCKET_NAME"value=openstack_objectstorage_container_v1.fluentd.name}env{name="S3_ENDPOINT_URL"value="https://object-storage.${openstack_objectstorage_container_v1.fluentd.region}.catalystcloud.io"}env{name="S3_BUCKET_REGION"value="us-east-1"}env{name="S3_FORCE_PATH_STYLE"value="true"}env{name="AWS_ACCESS_KEY_ID"value_from{secret_key_ref{name=kubernetes_secret_v1.fluentd.metadata[0].namekey="aws_access_key_id"}}}env{name="AWS_SECRET_ACCESS_KEY"value_from{secret_key_ref{name=kubernetes_secret_v1.fluentd.metadata[0].namekey="aws_secret_access_key"}}}env{name="FLUENT_UID"value="0"}resources{limits={memory="200Mi"}requests={cpu="1000m"memory="200Mi"}}volume_mount{name="var-log"mount_path="/var/log"}volume_mount{name="var-lib-docker-containers"mount_path="/var/lib/docker/containers"}volume_mount{name="fluent-conf"mount_path="/fluentd/etc/fluent.conf"sub_path="fluent.conf"read_only=true}}termination_grace_period_seconds=30volume{name="var-log"host_path{path="/var/log"}}volume{name="var-lib-docker-containers"host_path{path="/var/lib/docker/containers"}}volume{name="fluent-conf"config_map{name=kubernetes_config_map_v1.fluentd.metadata[0].name}}}}}}
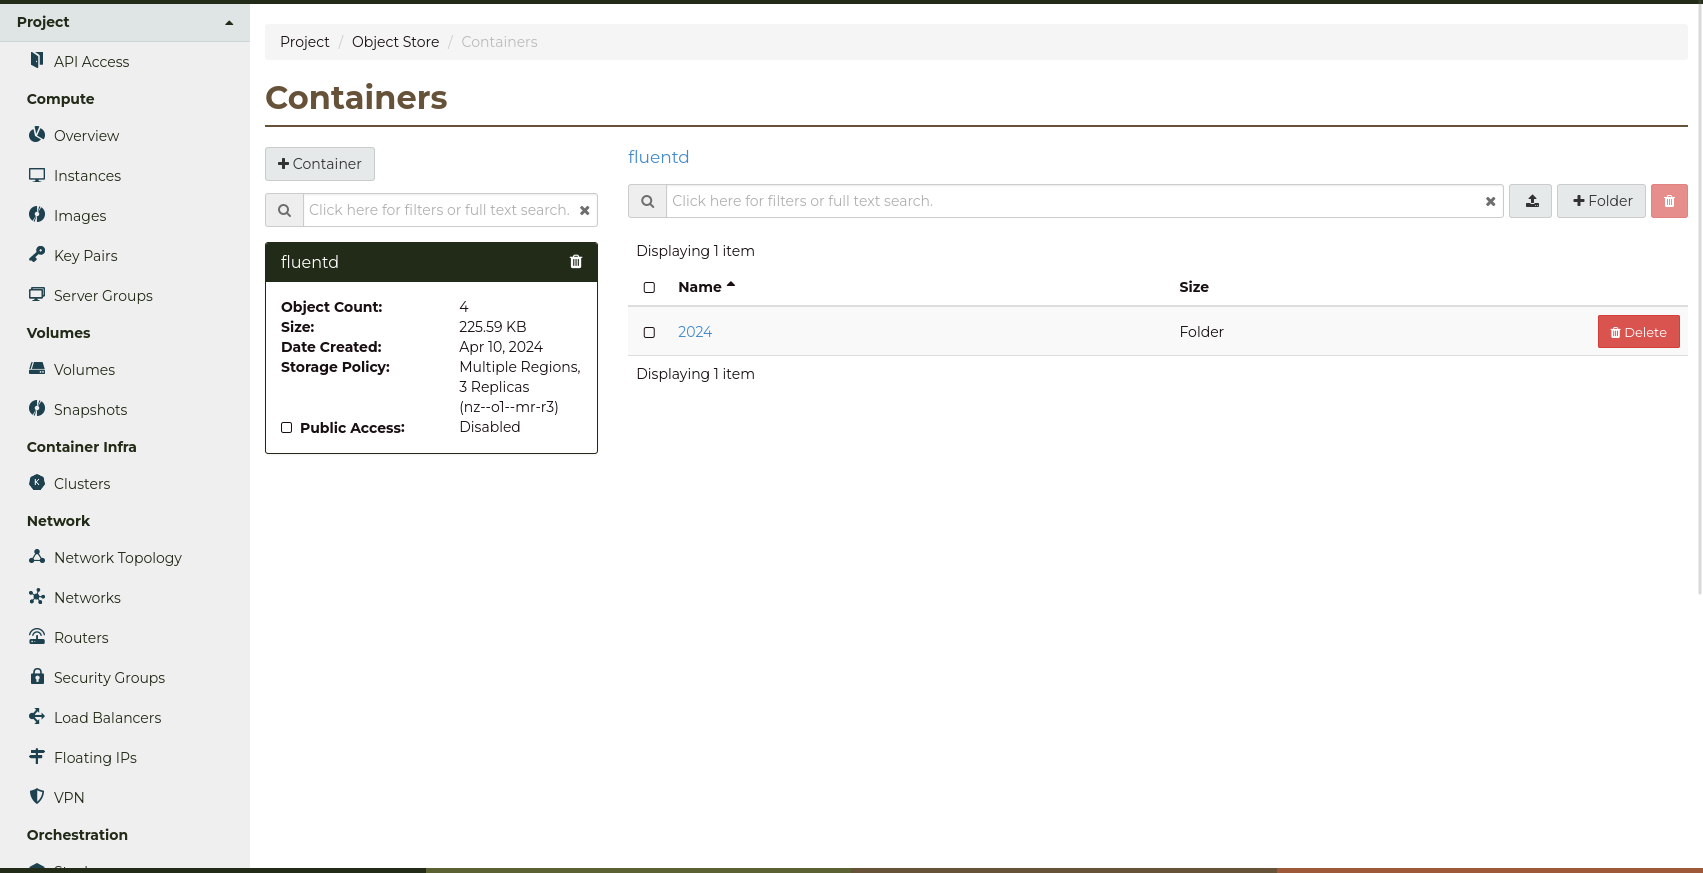
Navigate to the Project -> Object Store -> Containers page,
where the fluentd container should be listed.
Open the fluentd container, and check that a folder with
the current year has been created.
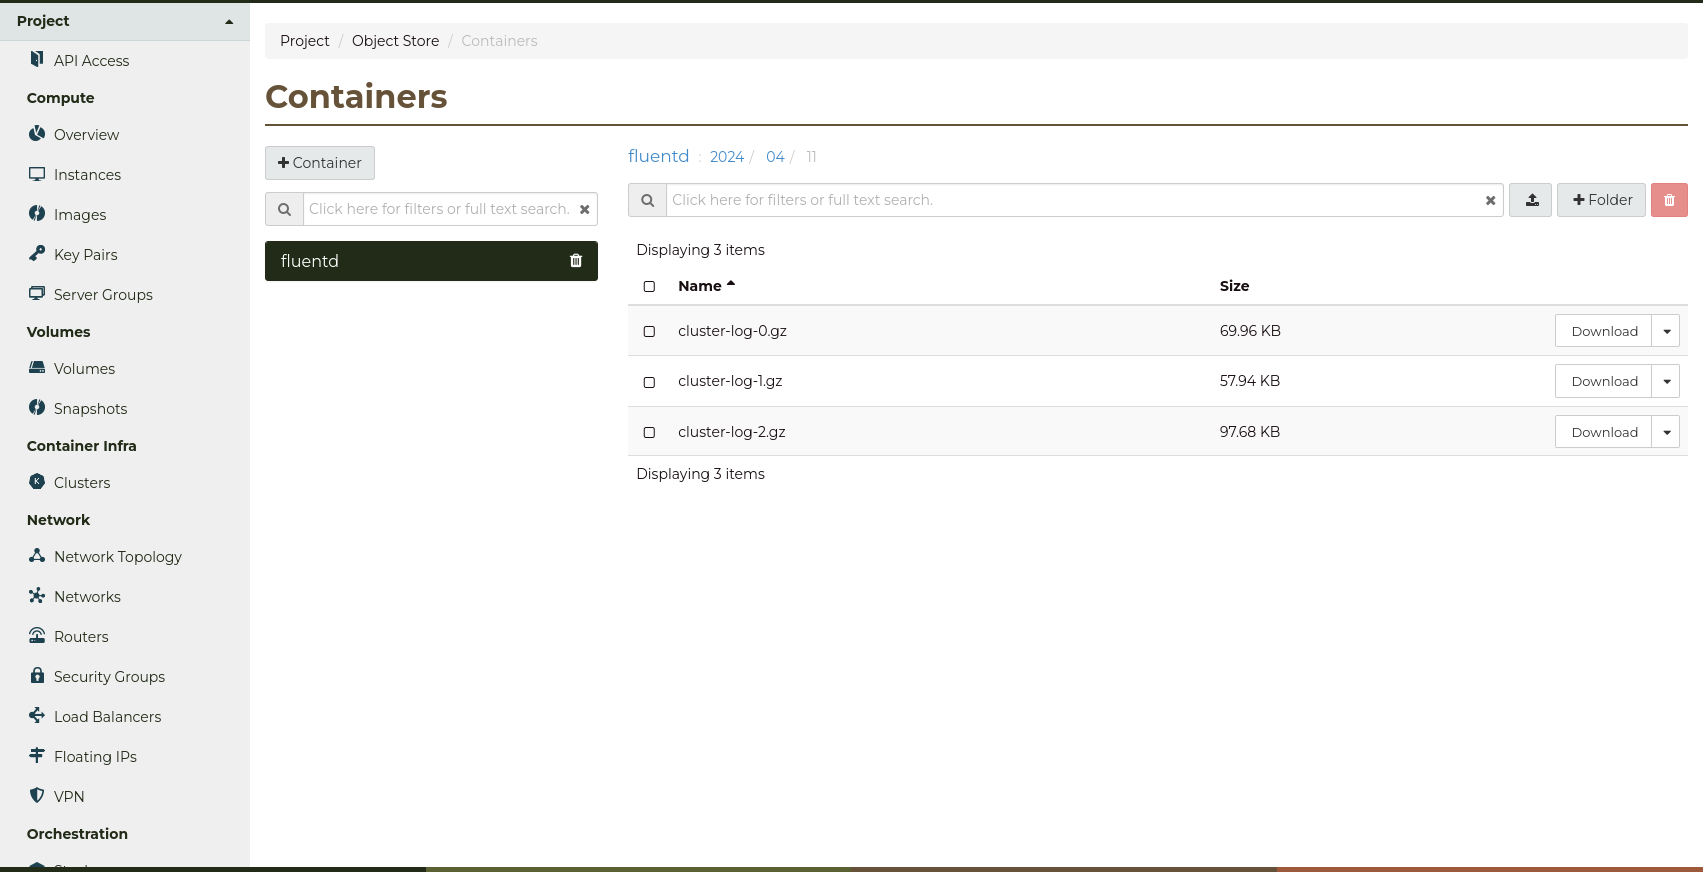
Navigate into the folders, and check that compress log files have been
created.
If the log files are successfully being saved, congratulations!
Fluentd is now working on your Kubernetes cluster to upload logging
to Catalyst Cloud Object Storage.
Run the following command to delete the fluentd container,
and all objects stored within it.
openstackcontainerdeletefluentd--recursive
Once this has been done, the fluentd should no longer be returned by
openstackcontainerlist.
Note
EC2 credentials cannot be deleted from the dashboard.
To make sure the EC2 credentials used in this tutorial are no longer usable,
you may roll the EC2 credentials for your project by navigating to the
Project -> API Access page, and pressing the Recreate EC2 Credentials button.
To delete the Object Storage container used by Fluentd,
navigate to the Project -> Object Store -> Containers page,
where the fluentd container should be listed.
Click on the fluentd container to open the container properties.
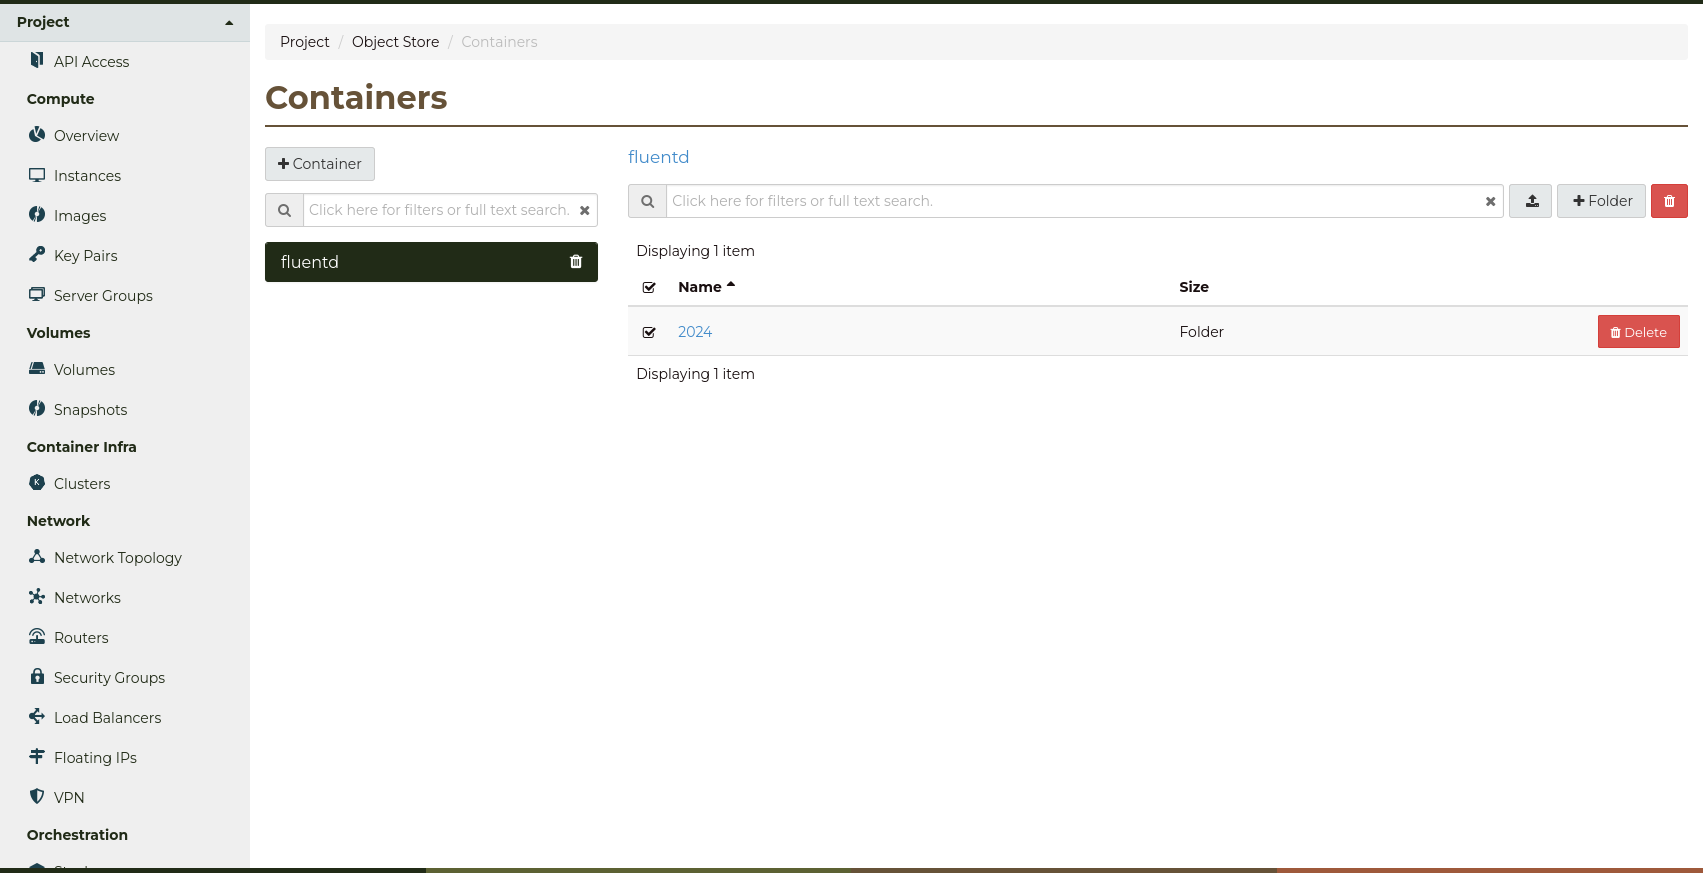
To delete a container using the dashboard, you must delete all files
inside the container first.
Click the tickbox next to Name to select all files in the container,
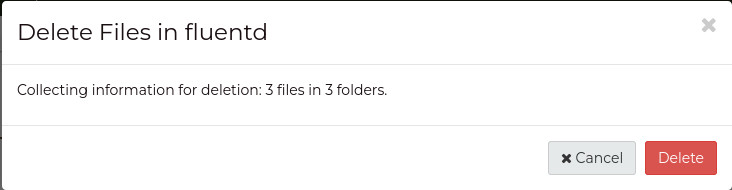
then press the red Trash Can button in the top right of the page.
A confirmation window will open, asking if you’d like to delete the files.
Press Delete to confirm.
Now you should be able to delete the container.
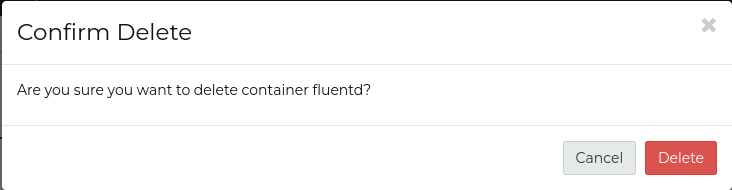
Press the Trash Can button in the top right of the container properties window.
A confirmation window will open, asking if you’d like to delete the container.
Press Delete to confirm.
The container should no longer be listed on the Containers page.
Simply remove the EC2 credential and Object Storage container
resource definitions from your Terraform project, and run terraformapply.
As the resources will still exist in the Terraform state,
Terraform will destroy them on the apply run.