Windows instance using the web interface
Log in to the dashboard at https://dashboard.catalystcloud.nz/
As a new user to Catalyst Cloud, your initial cloud project will come
with a pre-configured private network and a router connected to the Internet.
If you have deleted this, or would like to create additional networks then
please see Creating the required network elements for details on how to do that.
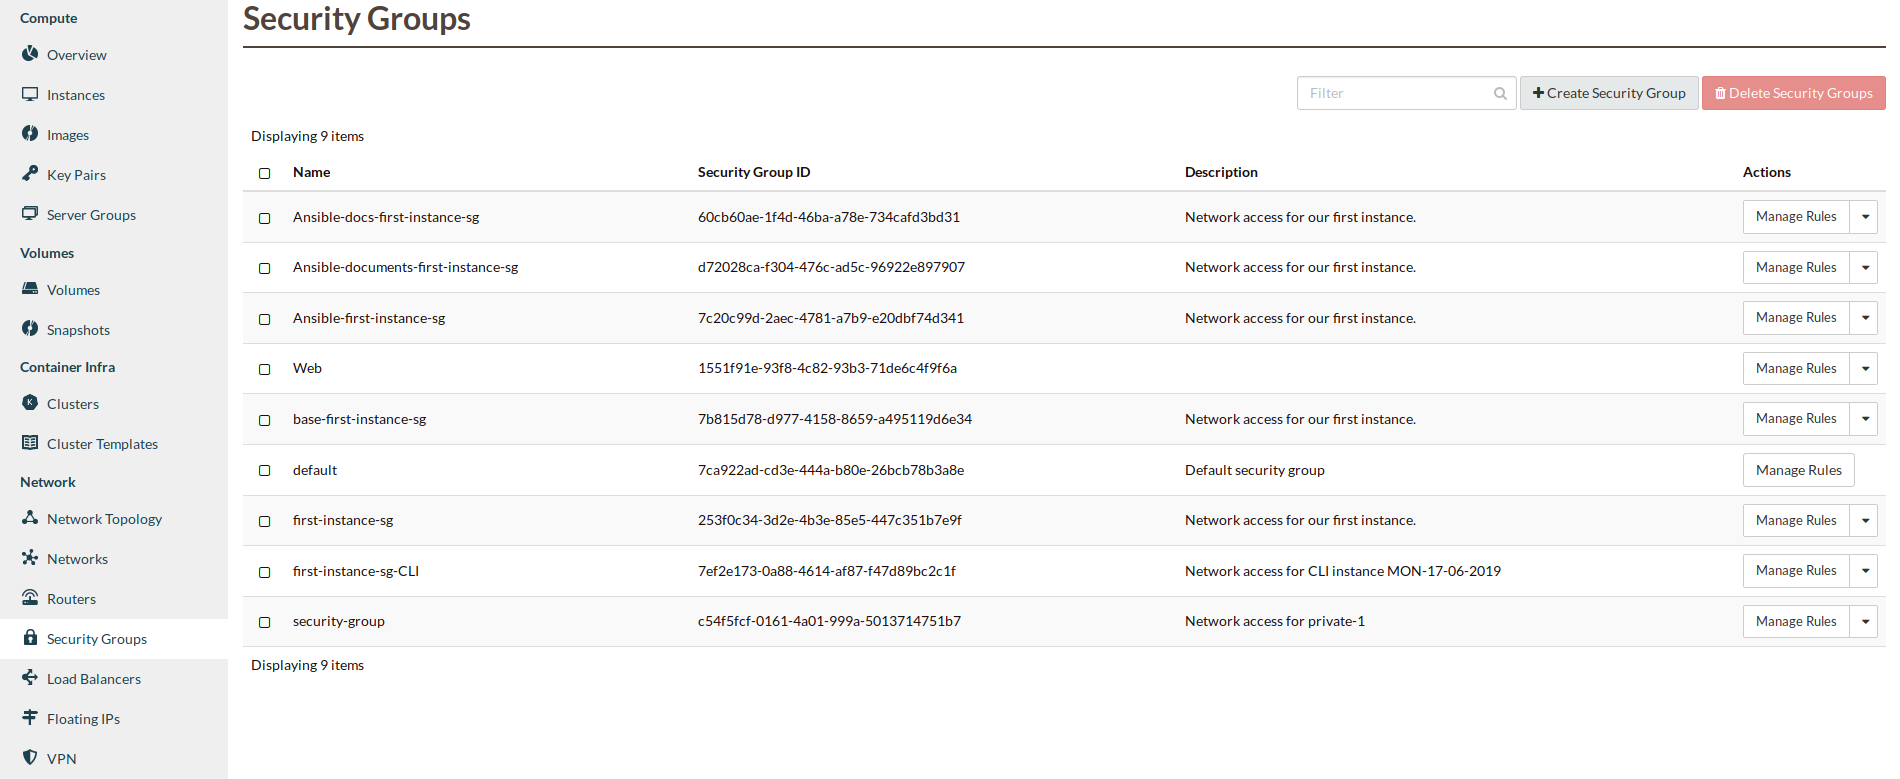
In addition, before trying to create a windows instance you should make sure
that a windows image exists on the server you’re trying to create and instance
on. At the moment we only have our Windows images on our Porirua server.
Otherwise, let’s proceed with building a windows instance.
Note
Some of the following pictures, have
files or various servers/security groups etc. That are not standard on the
catalyst cloud. Do not worry about their absence on your system, they will
not affect this tutorial.
Booting an instance
We are now ready to launch your first instance. Select launch instance from the
instances list:

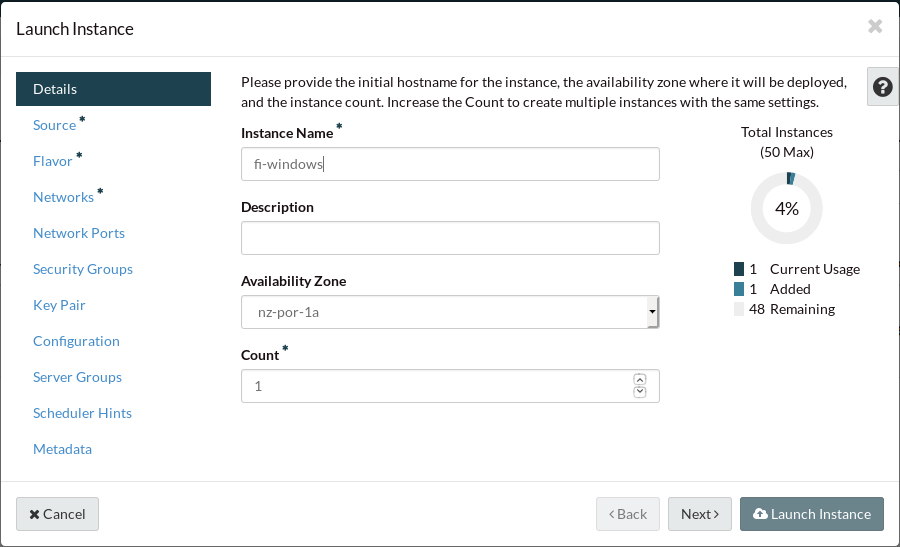
First thing that we do when creating this instance, is give it a name. For this
example we will use fi-windows.
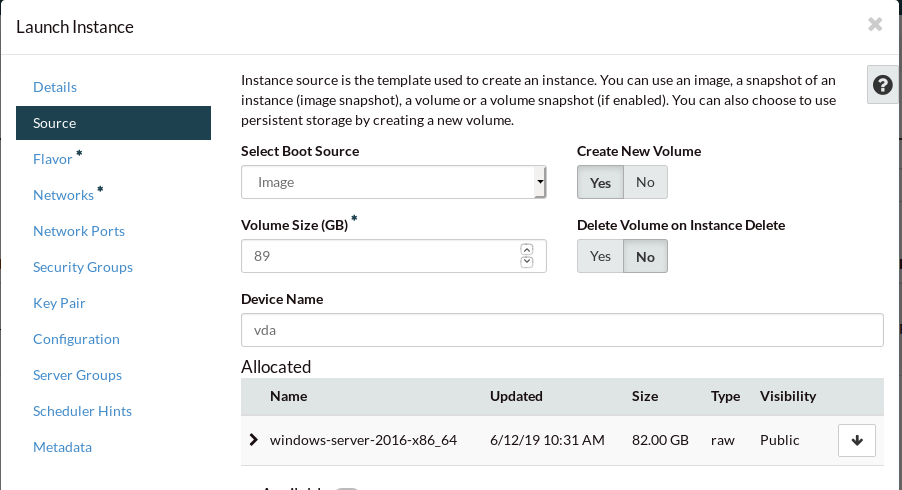
When creating a Windows instance you need to select the correct
image from the image list. In this example we are using
windows-server-2016r2-x86_64. However this could be any windows
image that is available from the image service on the cloud. The volume
size for our instance should automatically update to what is needed
to run this image.
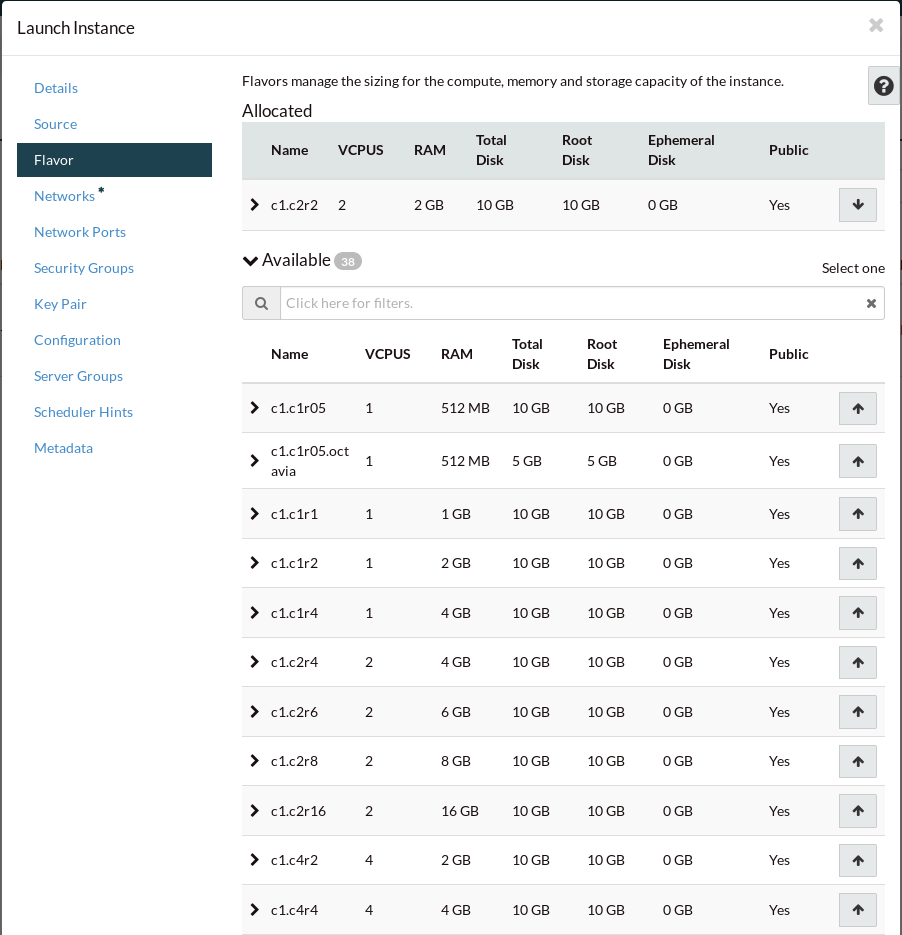
Next we pick the flavor.
We recommended a minimum flavor of c1.c2r2 for our Windows instances.
Select this from the list and click “Next”:
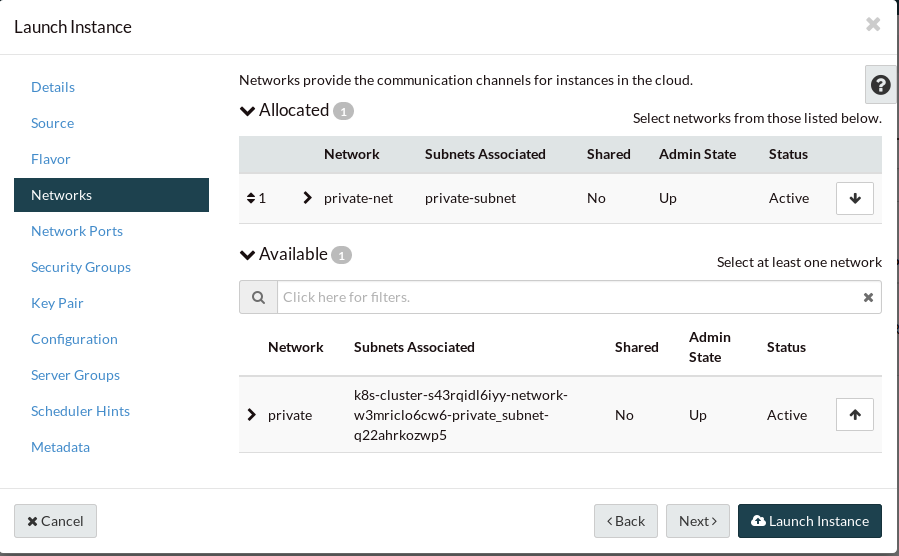
Select the private-net network from the list and click “Next”:
Select the first-instance-sg security group from the list and click “Next”:

No key pair is required for a Windows instance. Click “Next”:
It will take a few seconds for your instance to build. You will see the Status,
Task and Power State change during this process. When complete, the status will
be “Active”. You now have a running instance, but there are a few more steps
required before you can log in.
Allocate a floating IP
In order to be able to access your instance from the Internet and not
just use it through the dashboard console, you will need to assign a floating
IP to the instance so that it is visible to other devices.
To associate a floating IP with your instance, you need to navigate to the
“Floating IPs” tab of the “Access & Security” section.
If an IP address has not yet been allocated, click on “Allocate IP to Project”
to obtain a public IP. Then, select an IP that is not currently mapped and
click on “Associate”:

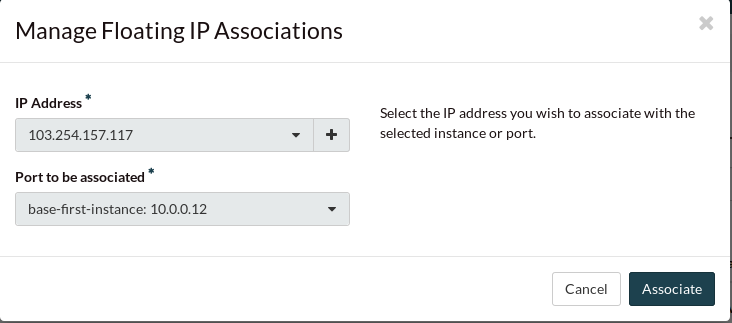
Select the port you wish to be associated with the floating IP. Ports are
equivalent to virtual network interfaces of compute instances, and are named
after the compute instance that owns them.
In this example, select the “first-instance” port and click “Associate”:
Connect to the new instance
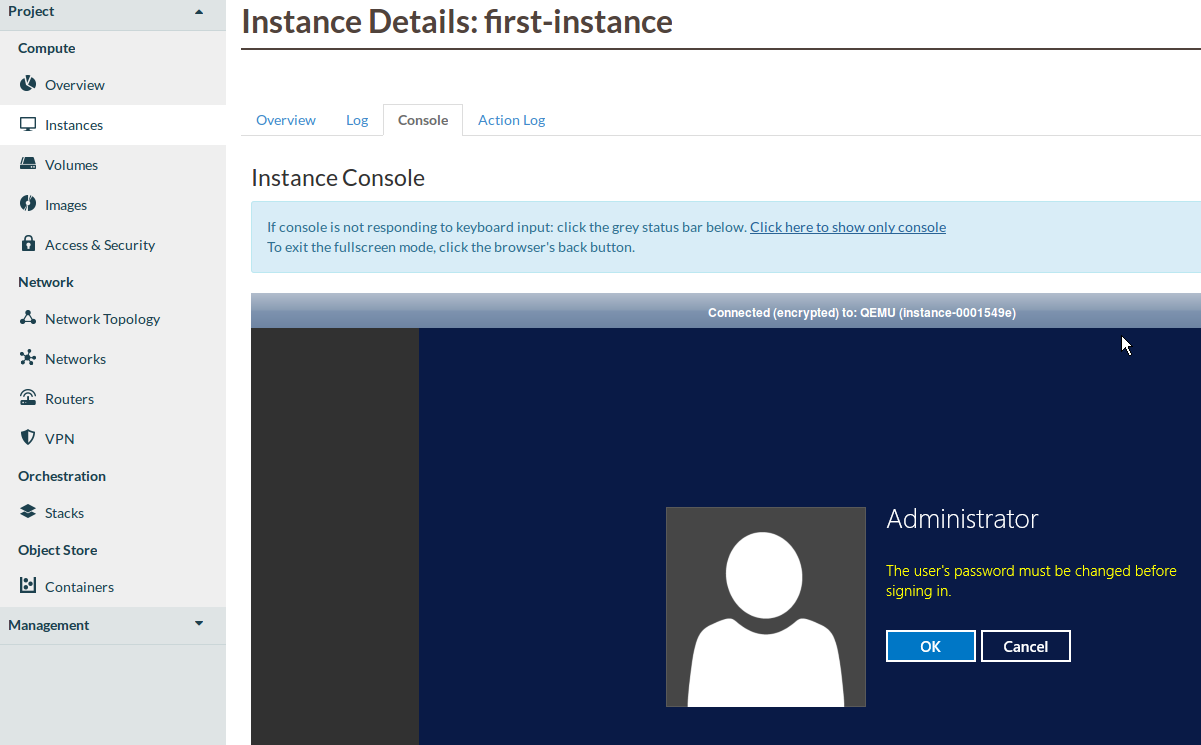
First you must set the Administrator password. To do this, go to the
“Instances” section, click on first-instance under “Instance Name”
and select the “Console” tab.
Once the following screen loads, click on OK to continue.
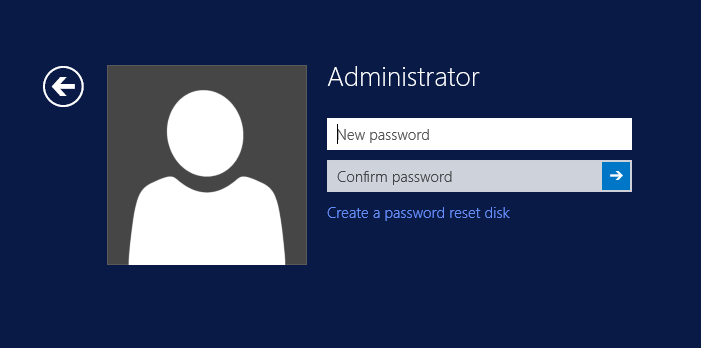
You will then be prompted by the following screen to create a new administrator
password.
Note
If the console shown in the image above fails to load or you see errors on
this page please ensure that your local machine and/or corporate firewall is
allowing the following traffic.

